Shadowsong
Game Developer & Graphic Designer
- Joined
- Feb 23, 2010
- Messages
- 3,446
- Solutions
- 21
- Reaction score
- 3,014
- Location
- Bosnia & Herzegovina
- YouTube
- ShivaShadowsong
Hello , friends! As I was fairly enough away from this community , today I decided to spend some time writing this tutorial , in hope to help anyone who wishes to make their map's minimap more "sexy" , or just different than usual [the one you extract with software/take screenshot of].
Therefore , I announce my little comeback , and I'll make sure to share my humble [noob] knowledge via these tutorials that I'll make in future. You can also read my other tutorial if you wish to know how to add new monsters with new sprites ingame. Ok , about this..
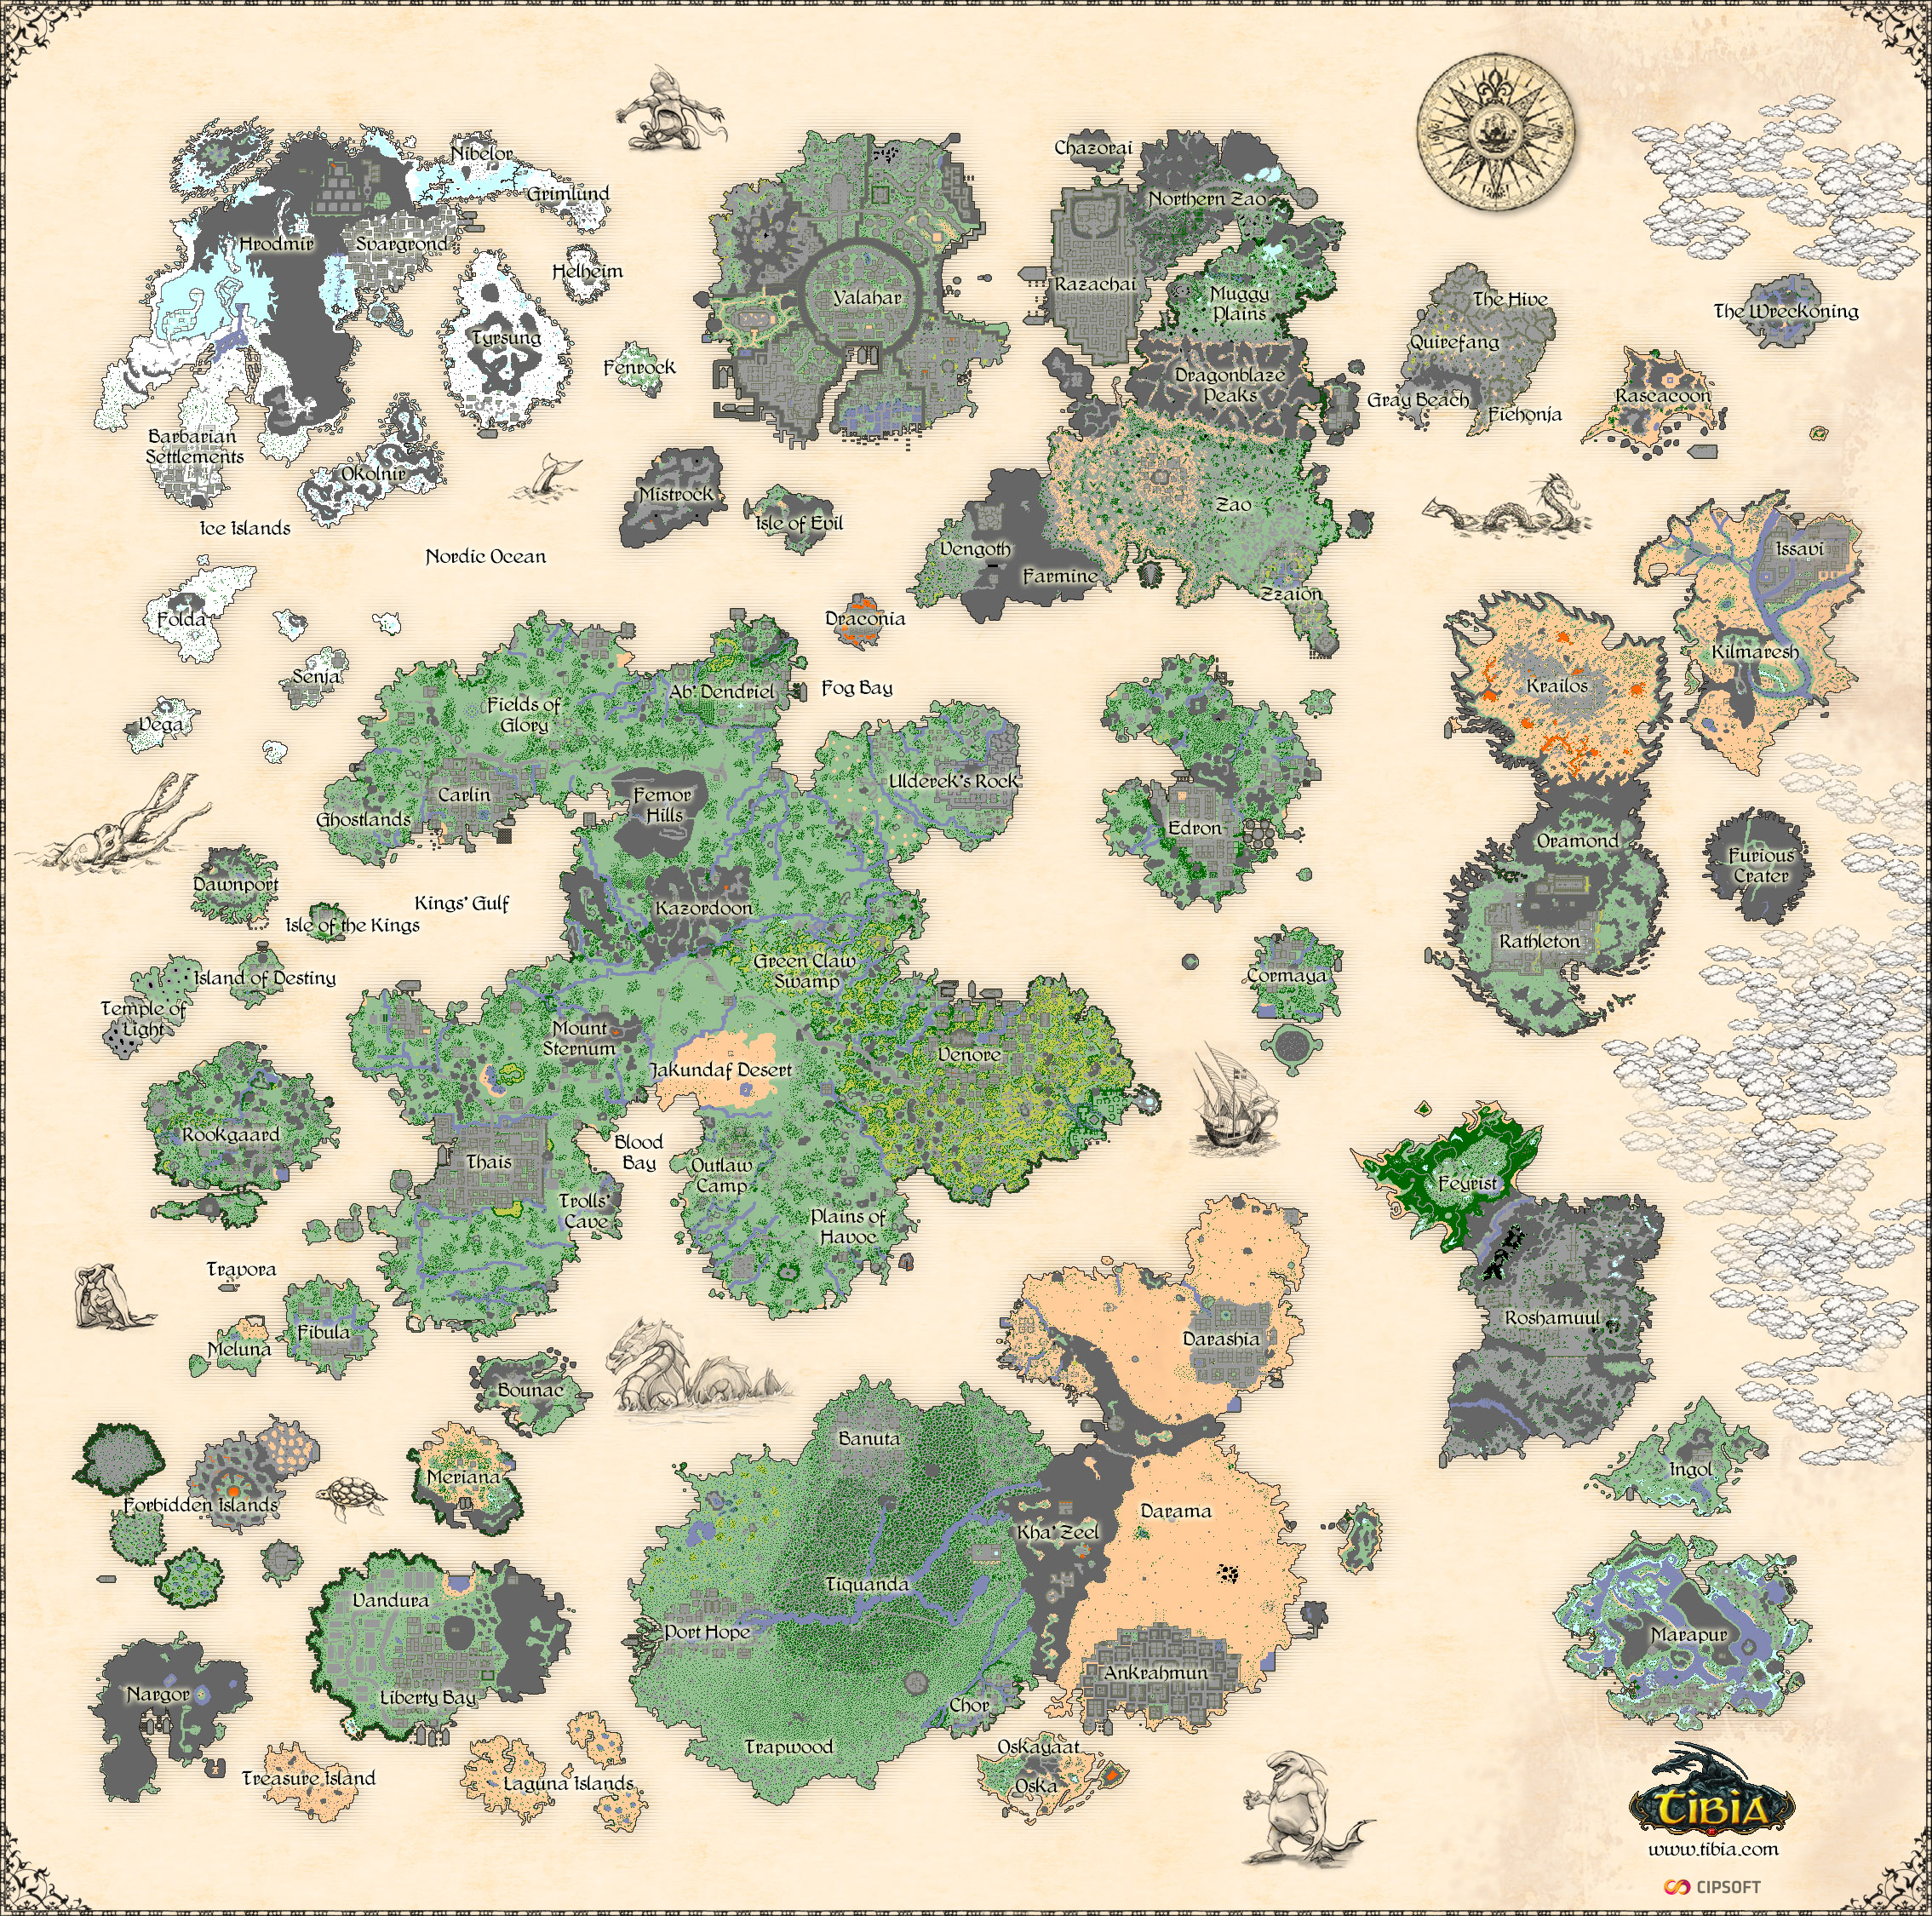
I am sure many of you saw CipSoft's minimap of real tibia map.
You noticed that it is nice .. at least to me , it is.
Why? .. Because it is different, has it's own style, and even a fu**ing shiny compass attached to it for those who still get lost when using "exiva" spell.
I tried to make something similar to it , and this is what was the result:

So , if you want to make your minimap look like this [you can modify/change things later yourself] , I'm going to show you simple steps to this achievement!
Okay so , today , the tools we will be using are:
* Remere's Map Editor
* Photoshop (CS 2+ , or even other versions - since I am sure most photoshop versions have these pretty basic functions).
In OT community , RME is a common program for map editing , and I recommend it since I use it personally, to me - it's easier to use and better than other map editors I found. We will only use it for one thing in this tutorial , but more about that soon.
In case you don't have it, you may download it [here].
Photoshop is also a major graphic design program - let's say a k00ler version of your MS Paint. Among many other uses , I've found photoshop pretty much an effective factory of tibia graphics and their editing; such as sprites, screenshots and ... minimap editing. There may be people reading this who already know much about photoshop, but some may yet not know much, therefore this tutorial will show pictures to guide you.
Photoshop is a common program found everywhere around, so if you don't have it, you can either ask any of your friends if they have a CD, or just download it from torrent or some other place, and hope that a carrion won't infest your system. Speaking of downloading , I aling you a free 30 day trial link [ here ] , but I'm sure you can find online pages which provide serial keys to full registration for free! Just google ur shit.. :'D
Open your precious map with RME.
Step I - Extracting the Minimap
Navigate towards the toolbar , and click File > Export > Export Minimap...
A window should appear. In Floor Options section , select "Ground Floor".
After that , press 'Browse' , and select the place where you want to save your minimap. Name it "mmap" and press Save.
You may now close your RME.
Step II - Cropping
Open your photoshop. Click File > Open , and open your minimap, the one you extracted with RME.
Before I go on , there are few functions in photoshop that we will be using to do stuff.
I will just quickly tell you which ones , and what do they do. You can see the photoshop toolbar on the following picture, and the functions are marked with colors/numbers:
 1 - Rectangular Marquee Tool , aka tool for selection , is the tool which we will use to select certain areas on the picture so we could do something with them.
2 - Moving tool .. So , this tool can move stuff , pretty obvious. You can either move a whole picture/layer , or something you selected with the tool nr. 1
3 - Magic Wand Tool - ... self explaining , it's pure magic! Just one click with it, on the picture, and it will select everything that is the same color as the thing you clicked on.
[Note, there are multiple tools in each of these squares, in case you don't have the same tools as I do on this pic, try right-clicking the option to get more different tools]
Why did I show you this? ... 'Cause shit happens. For example, you have 2 islands, one is still unfinished , but it's too near the other one which you want to showoff. You don't want your unfinished stuff on your official minimap, do you?.. So , you need to crop. Crop crop crop. Here is the situation, as you can see, there are some other islands and unused stuff around the place that I want to edit:

Take your Selection tool [1] , and select the area you want people to see. (I did the same thing on the picture above). While the area is selected, navigate towards the toolbar and press Image > Crop.
Now , only the area you selected remains in the picture , and there you go , we got rid of the unnecessary crap:

But , isn't this a little bit too tight? .. If you look at the edges, the island is almost floating out of the picture... We shall do something about it, so we will expand the image area around. We will do this by going to the toolbar and clicking Image > Canvas Size.
A window should appear. Move it a bit up so you can see your workplace, like this:

Now, you want to expand your image area. Depends on the picture, sometimes you need much , sometimes not, in my little pic example , I don't need that much, so I will extend it by 1 cm both in width & height. Just enter 8,85 instead of 7,85 in Width, and 8,4 instead of 7,4 in Height , and that will be okay. Though , before you press Ok , click where the arrow points:

Another window will open where you can choose a color. You want the color to be the same as the tibia minimap water. As you can see , there is a new tool I will explain now, tool number 4 - Color Picker. It is used to recognize some color from a place where your cursor is at , and select it (if you click left click).
It will appear automatically if you drive your cursor over the water around your island [like shown on the picture]. Take your color picker over the water, and press your left click. After the color is selected , press Ok , and Ok again, to stretch your window.
Now we have a fine wide workspace to continue with.")
Now .. what we want to do is , to change the color of that water. As you can see on the finished picture, there is no water around, only a sandy-color background. If we want to achieve such an effect, we will first have to create the background, behind our island, and then delete the water, so our island will be left on top of the new background, keeping it kool. So, what I want you to do, is go to the layer window which should look a little something like this (if it's not opened, press F7 to open it):

And double left-click where the arrow says. When a new window appears, just press Ok.
You will notice that your "Background" is now called "Layer 0".
Ok now, we will create a new layer that will soon become our new sandy background.
To do that, press Ctrl + Shift + N , and press Ok. Our Layer 1 is now selected.
This is where another option is introduced. I'm sure ur familiar with it from somewhere. It's called a Bucket (fill).

The red circle shows where you can change the color which you are using right now (the one that will become our background). I want you to press it, and when the color picking window appears, use the Color Picker tool to select the sand (if there is any). After you select it, make it just a little bit more brighter in the color window. If there is no sand, just navigate freely through the window until you get the desired background color.
Now that you've got it, use the bucket anywhere on the workspace, and it will fill it with the desired color. After you're done with it , go to toolbar and press Layer > New > Background From Layer. Now , in the Layer window, select Layer 0 again.
When you do , prepare to use the Magic Wand tool that I talked about earlier. Use the magic wand anywhere on the water, and it should select all the outer water (like seen on picture 1

Then , press 'Delete' , and you should get something like shown on picture 2.
If you want to delete that water that remained inside the pieces of island , do the same thing with Magic Wand tool.
After you're done, remember to deselect if there is any selection in image (take the Selection tool , and just do a left click outside the workspace, for example.)
Where it says Layer 0 in Layer window , click Right Click on it and select Blending Options. Go to the Drop Shadow option , and click on it, like shown on the picture:

Make sure everything in the blue circle area is set up like you see in the screenshot above, and you shall get an effect that you see on the left part of the image. A nice dark red shadow to your island(s). Ofcourse, you can choose/change the color of shadow by clicking on that colored rectangular inside the blue area , and set it up however you want. Press Ok.
Now press Ctrl + U , and where it says Saturation , put "-68" and press Ok.
It should look like this:

Now let's add some text on it , the name of the island or something?
Before we write , I'd like you to think about which font you will use. Maybe you have some of your own , if not , I recommend using this classing Tibian font called "Martel".
You can download it [ here ]. To install this font , go to your Control Panel > Fonts > and just put the file(s) inside [extract the zip on desktop, and then put the contents inside here].
Go to the color selection button [the one that was marked with a red circle a bit before] and select Black. Now when you write, ur letters should be Black ofc.
In the left toolbar, press the T button, aka Text Tool.
Select an area with your mouse where you want to write [you can change the size of the area by holding the left mouse button while selecting, then moving the mouse to shrink/expand the area.]
Type the name of the place, then deselect (like I explained a bit above).
You will notice that your text also created itself in a new layer. The layer will be named the same as the text you enter in it [unless you rename]. Select that layer, right click on it and press Blending Options.
Select Outer Glow and make sure everything is as It's in this window (unless you want something to be different):

The result should look like this:

To save it with the best result , you want to save it in .png format. JPG is also prefferable, but .png is lighter in capacity. Press CTRL + SHIFT + S , and in Format select .PNG , then press Save.
You may now be wondering why I haven't explained how to add those awesome frames, or why this result picture looks a bit different than the one on beginning.
I shall tell you that this is the rough tutorial , a way to achieve such a thing, and it is only up to you how you give the finishing spice to your work. I have, hopefully, teached you how to make a difference like this to your minimap, now it's yours to play with it, and add various frames and spices! Also , the screenshots during the tutorial were taken right now, with my newest island minimap, so it's a little bit different than one on beginning cuz that picture was made way before.
I just wanted to share this with you , 'cause one guy asked before, and I got a feeling maybe more people would like to know stuff like this. I started doing this at 0:12 , now it's 2:28 , and I'm tired as ****. That means;
Thank you for taking your time to look at/follow my tutorial,
I hope you learned something...
Leave all your questions or comments down there, I will try to answer when I can
You may as well rep++ if you find this useful. :$
/Shiva
Therefore , I announce my little comeback , and I'll make sure to share my humble [noob] knowledge via these tutorials that I'll make in future. You can also read my other tutorial if you wish to know how to add new monsters with new sprites ingame. Ok , about this..
Intro
I am sure many of you saw CipSoft's minimap of real tibia map.
You noticed that it is nice .. at least to me , it is.
Why? .. Because it is different, has it's own style, and even a fu**ing shiny compass attached to it for those who still get lost when using "exiva" spell.
I tried to make something similar to it , and this is what was the result:
So , if you want to make your minimap look like this [you can modify/change things later yourself] , I'm going to show you simple steps to this achievement!
Okay so , today , the tools we will be using are:
* Remere's Map Editor
* Photoshop (CS 2+ , or even other versions - since I am sure most photoshop versions have these pretty basic functions).
In OT community , RME is a common program for map editing , and I recommend it since I use it personally, to me - it's easier to use and better than other map editors I found. We will only use it for one thing in this tutorial , but more about that soon.
In case you don't have it, you may download it [here].
Photoshop is also a major graphic design program - let's say a k00ler version of your MS Paint.
Among many other uses , I've found photoshop pretty much an effective factory of tibia graphics and their editing; such as sprites, screenshots and ... minimap editing. There may be people reading this who already know much about photoshop, but some may yet not know much, therefore this tutorial will show pictures to guide you.Photoshop is a common program found everywhere around, so if you don't have it, you can either ask any of your friends if they have a CD, or just download it from torrent or some other place, and hope that a carrion won't infest your system. Speaking of downloading , I aling you a free 30 day trial link [ here ] , but I'm sure you can find online pages which provide serial keys to full registration for free! Just google ur shit.. :'D
Serious Business
Okay now .. You have your required gear .. Let's do this , shall we?Open your precious map with RME.
Step I - Extracting the Minimap
Navigate towards the toolbar , and click File > Export > Export Minimap...
A window should appear. In Floor Options section , select "Ground Floor".
After that , press 'Browse' , and select the place where you want to save your minimap. Name it "mmap" and press Save.
You may now close your RME.
Step II - Cropping
Open your photoshop. Click File > Open , and open your minimap, the one you extracted with RME.
Before I go on , there are few functions in photoshop that we will be using to do stuff.
I will just quickly tell you which ones , and what do they do. You can see the photoshop toolbar on the following picture, and the functions are marked with colors/numbers:
2 - Moving tool .. So , this tool can move stuff , pretty obvious. You can either move a whole picture/layer , or something you selected with the tool nr. 1
3 - Magic Wand Tool - ... self explaining , it's pure magic! Just one click with it, on the picture, and it will select everything that is the same color as the thing you clicked on.
[Note, there are multiple tools in each of these squares, in case you don't have the same tools as I do on this pic, try right-clicking the option to get more different tools]
Why did I show you this? ... 'Cause shit happens. For example, you have 2 islands, one is still unfinished , but it's too near the other one which you want to showoff. You don't want your unfinished stuff on your official minimap, do you?.. So , you need to crop. Crop crop crop. Here is the situation, as you can see, there are some other islands and unused stuff around the place that I want to edit:
Take your Selection tool [1] , and select the area you want people to see. (I did the same thing on the picture above). While the area is selected, navigate towards the toolbar and press Image > Crop.
Now , only the area you selected remains in the picture , and there you go , we got rid of the unnecessary crap:
But , isn't this a little bit too tight? .. If you look at the edges, the island is almost floating out of the picture... We shall do something about it, so we will expand the image area around. We will do this by going to the toolbar and clicking Image > Canvas Size.
A window should appear. Move it a bit up so you can see your workplace, like this:
Now, you want to expand your image area. Depends on the picture, sometimes you need much , sometimes not, in my little pic example , I don't need that much, so I will extend it by 1 cm both in width & height. Just enter 8,85 instead of 7,85 in Width, and 8,4 instead of 7,4 in Height , and that will be okay. Though , before you press Ok , click where the arrow points:
Another window will open where you can choose a color. You want the color to be the same as the tibia minimap water. As you can see , there is a new tool I will explain now, tool number 4 - Color Picker. It is used to recognize some color from a place where your cursor is at , and select it (if you click left click).
It will appear automatically if you drive your cursor over the water around your island [like shown on the picture]. Take your color picker over the water, and press your left click. After the color is selected , press Ok , and Ok again, to stretch your window.
Now we have a fine wide workspace to continue with.
Now .. what we want to do is , to change the color of that water. As you can see on the finished picture, there is no water around, only a sandy-color background. If we want to achieve such an effect, we will first have to create the background, behind our island, and then delete the water, so our island will be left on top of the new background, keeping it kool. So, what I want you to do, is go to the layer window which should look a little something like this (if it's not opened, press F7 to open it):
And double left-click where the arrow says. When a new window appears, just press Ok.
You will notice that your "Background" is now called "Layer 0".
Ok now, we will create a new layer that will soon become our new sandy background.
To do that, press Ctrl + Shift + N , and press Ok. Our Layer 1 is now selected.
This is where another option is introduced. I'm sure ur familiar with it from somewhere. It's called a Bucket (fill).
The red circle shows where you can change the color which you are using right now (the one that will become our background). I want you to press it, and when the color picking window appears, use the Color Picker tool to select the sand (if there is any). After you select it, make it just a little bit more brighter in the color window. If there is no sand, just navigate freely through the window until you get the desired background color.
Now that you've got it, use the bucket anywhere on the workspace, and it will fill it with the desired color. After you're done with it , go to toolbar and press Layer > New > Background From Layer. Now , in the Layer window, select Layer 0 again.
When you do , prepare to use the Magic Wand tool that I talked about earlier. Use the magic wand anywhere on the water, and it should select all the outer water (like seen on picture 1
Then , press 'Delete' , and you should get something like shown on picture 2.
If you want to delete that water that remained inside the pieces of island , do the same thing with Magic Wand tool.
After you're done, remember to deselect if there is any selection in image (take the Selection tool , and just do a left click outside the workspace, for example.)
Where it says Layer 0 in Layer window , click Right Click on it and select Blending Options. Go to the Drop Shadow option , and click on it, like shown on the picture:
Make sure everything in the blue circle area is set up like you see in the screenshot above, and you shall get an effect that you see on the left part of the image. A nice dark red shadow to your island(s). Ofcourse, you can choose/change the color of shadow by clicking on that colored rectangular inside the blue area , and set it up however you want. Press Ok.
Now press Ctrl + U , and where it says Saturation , put "-68" and press Ok.
It should look like this:
Now let's add some text on it , the name of the island or something?
Before we write , I'd like you to think about which font you will use. Maybe you have some of your own , if not , I recommend using this classing Tibian font called "Martel".
You can download it [ here ]. To install this font , go to your Control Panel > Fonts > and just put the file(s) inside [extract the zip on desktop, and then put the contents inside here].
Go to the color selection button [the one that was marked with a red circle a bit before] and select Black. Now when you write, ur letters should be Black ofc.
In the left toolbar, press the T button, aka Text Tool.
Select an area with your mouse where you want to write [you can change the size of the area by holding the left mouse button while selecting, then moving the mouse to shrink/expand the area.]
Type the name of the place, then deselect (like I explained a bit above).
You will notice that your text also created itself in a new layer. The layer will be named the same as the text you enter in it [unless you rename]. Select that layer, right click on it and press Blending Options.
Select Outer Glow and make sure everything is as It's in this window (unless you want something to be different):
The result should look like this:
To save it with the best result , you want to save it in .png format. JPG is also prefferable, but .png is lighter in capacity. Press CTRL + SHIFT + S , and in Format select .PNG , then press Save.
You may now be wondering why I haven't explained how to add those awesome frames, or why this result picture looks a bit different than the one on beginning.
I shall tell you that this is the rough tutorial , a way to achieve such a thing, and it is only up to you how you give the finishing spice to your work. I have, hopefully, teached you how to make a difference like this to your minimap, now it's yours to play with it, and add various frames and spices! Also , the screenshots during the tutorial were taken right now, with my newest island minimap, so it's a little bit different than one on beginning cuz that picture was made way before.
I just wanted to share this with you , 'cause one guy asked before, and I got a feeling maybe more people would like to know stuff like this. I started doing this at 0:12 , now it's 2:28 , and I'm tired as ****. That means;
Thank you for taking your time to look at/follow my tutorial,
I hope you learned something...
Leave all your questions or comments down there, I will try to answer when I can
You may as well rep++ if you find this useful. :$
/Shiva