• There is NO official Otland's Discord server and NO official Otland's server list. The Otland's Staff does not manage any Discord server or server list. Moderators or administrator of any Discord server or server lists have NO connection to the Otland's Staff. Do not get scammed!

OTClient How to make a hud in otui

MorganaSacani

Active Member
Joined
Sep 20, 2022
Messages
87
Solutions
1
Reaction score
32
I've been trying to show the character's status in a different way for days
The first part of the challenge is ready, I studied and understood how the extendedOpCode works
I'm already managing to get the server to return the value of the packet, and with that I'm printing it in the terminal for testing
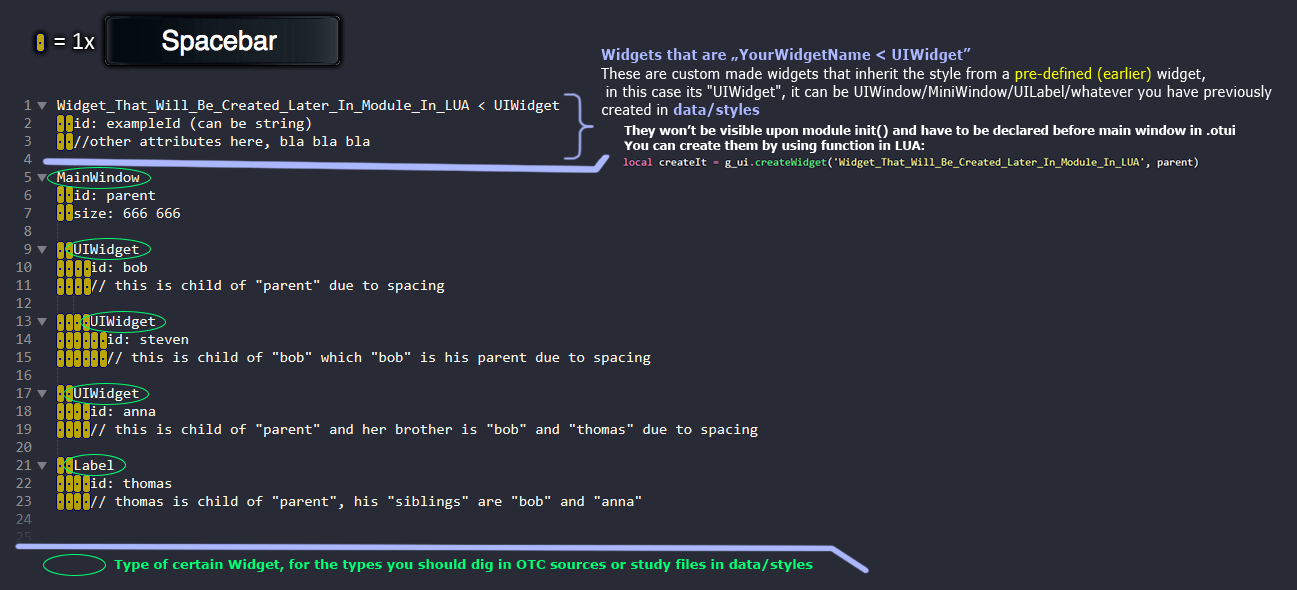
But now I need to make this packet appear in the form of a hud
Like for example:
dbwpejf-8d8cbae9-6f66-4835-8372-8668b60aac61.jpg

I know I need to work on the file with otui extension, however I don't know where to start
I don't know how to create the hud, and I also don't know how to call the hud inside my file with lua extension
This is my file with lua extension:
Lua:
-- init(): When starts the game
function init()
    connect(g_game, {
        onGameStart = playerLogin,
        onGameEnd = playerLogout,
    })

    return true
end

-- terminate(): When ends the game
function terminate()
    disconnect(g_game, {
        onGameStart = playerLogin,
        onGameEnd = playerLogout,
    })
    ProtocolGame.unregisterExtendedOpcode(55, true)
    
    return true
end

-- playerLogin(): When player's login
function playerLogin()
    ProtocolGame.registerExtendedOpcode(55, receiveStaminaAttFromServer)

    update()

    return true
end

-- playerLogout(): When player's logout
function playerLogout()
    ProtocolGame.unregisterExtendedOpcode(55, true)

    return true
end

function update()
    local player = g_game.getLocalPlayer()
    if player then
        local protocolGame = g_game.getProtocolGame()
        if protocolGame then
            protocolGame:sendExtendedOpcode(55, '')
        end

        print(player:getHealth() .." health points.")
        scheduleEvent(update, 250)
    end

    return true
end

function receiveStaminaAttFromServer(protocol, opcode, packet)
    print(packet .." stamina points.")
end
 
Hello,
First of all is worth to mention what is .otui, so in short - .otui is an file that holds the styles of windows, images, texts (widgets) which will be used by the module your writing in LUA.
Its using "tags" previously declared in C++, for example those 2 files : "framework/ui/uiwidgetbasestyle.cpp" or "framework/ui/uiwidgetimage.cpp" or custom ones created in data/styles.
It looks kinda like CSS but for widgets used by certain OTC module.

1) How to load .otui file by module.lua script:
To use .otui in your module you have few possible options in LUA. I will show you the most common - two ways:
1) Standard - Import entire file in init() function (when module is loaded as is client startup or load when you want (if have attribute autoload: false in module.otmod file)) for example:
Lua:
g_ui.importStyle(' YOUR OTUI FILE NAME IN FOLDER WITH MODULE ') -- g_ui.importStyle('game_mymodule')
2) Display .otui file when needed. Example you can check in client_entergame/entergame.lua which is in init() function, looks like that:
Lua:
    enterGame = g_ui.displayUI('entergame')
    enterMenu = g_ui.displayUI('entermenu')
    infoWindow = g_ui.displayUI('infowindow')
Those variables are bound to specific .otui files, which are separate for each window.

2) Understanding .otui tabbing with spaces and parents/childs:
Spacing in .otui file matters! Specially they are "SPACE"s ⌨️ !
It's hard to explain in words, so I will use a picture to make it easier to explain:
DVfiFDT.png

3) How to create or get to widgets from .otui
It's worth to remember from beginning that in .otui you can bind "id" to certain widget(s), which is pretty handy and kinda must have for creating modules!
Without named "id" in .otui/lua is huge mess when you forget to destroy certain widgets when module is unused (there might be warnings like : "widget9438" destroyed but have X references left). But when you set "id" before - you have straight-forward knowledge what is going on (instead of widgetXXXX will be ID name, so you will easier know what is going on)

I will be using widget names from image that is in spoiler above to better understanding.

1) Creating widgets when its needed ("in flight") [ from .otui or from previously declared widgets (data/styles) or default ones ]
You can create widgets "in flight" in LUA - when you need, for example you declared style for widget which will be used later (not show in MainWindow of module at module start), you just want to create it when it needs, so you can do it like that:
Lua:
-- Widget that is default (just - UIWidget):
local createIt = g_ui.createWidget('UIWidget', parent)
-- Custom Widget that you declared in module .otui (see image in Spoiler above to understand):
local createIt = g_ui.createWidget('Widget_That_Will_Be_Created_Later_In_Module_In_LUA', parent)
-- this "name" is from image in Spoiler above (REMEMBER: Name is not ID ! You have to distinguish it!)

2) Get widget from .otui that are already visible on module window
To get widgets that are already visible on module window, you need to set them their "id" in .otui, after that you can simply do the thing like:
Lua:
local getWidget = parent:recursiveGetChildById('bob')

--[[
You have few functions to get widgets in lua, recursiveGetChildById function is most handy function, because you just have to reference to FIRST parent
Other functions like getChildById needs to be referenced to EXACT parent, however recursive~ you can reference to FIRST parent, example:
You have mainWindow and few other containers/windows that are childs after him and their have their own childs, so you just pass the main window as a parent instead of exact window where certain child belongs to. (it's complicated, you need to see this usage in practice)
]]--


That's pretty much all basic knowledge that you need to know to start your adventure with .otui and make it use in LUA.
If you have any questions - feel free to ask.
Peace~

PS. With all those knowledge to give you bonus little help with getting parent (where you should draw) your HUD, it will be probably rootWidget or gameMapPanel :)
 
Last edited:
Hello,
First of all is worth to mention what is .otui, so in short - .otui is an file that holds the styles of windows, images, texts (widgets) which will be used by the module your writing in LUA.
Its using "tags" previously declared in C++, for example those 2 files : "framework/ui/uiwidgetbasestyle.cpp" or "framework/ui/uiwidgetimage.cpp" or custom ones created in data/styles.
It looks kinda like CSS but for widgets used by certain OTC module.

1) How to load .otui file by module.lua script:
To use .otui in your module you have few possible options in LUA. I will show you the most common - two ways:
1) Standard - Import entire file in init() function (when module is loaded as is client startup or load when you want (if have attribute autoload: false in module.otmod file)) for example:
Lua:
g_ui.importStyle(' YOUR MODULE NAME ') -- g_ui.importStyle('game_mymodule')
2) Display .otui file when needed. Example you can check in client_entergame/entergame.lua which is in init() function, looks like that:
Lua:
    enterGame = g_ui.displayUI('entergame')
    enterMenu = g_ui.displayUI('entermenu')
    infoWindow = g_ui.displayUI('infowindow')
Those variables are bound to specific .otui files, which are separate for each window.

2) Understanding .otui tabbing with spaces and parents/childs:
Spacing in .otui file matters! Specially they are "SPACE"s ⌨️ !
It's hard to explain in words, so I will use a picture to make it easier to explain:
DVfiFDT.png

3) How to create or get to widgets from .otui
It's worth to remember from beginning that in .otui you can bind "id" to certain widget(s), which is pretty handy and kinda must have for creating modules!
Without named "id" in .otui/lua is huge mess when you forget to destroy certain widgets when module is unused (there might be warnings like : "widget9438" destroyed but have X references left). But when you set "id" before - you have straight-forward knowledge what is going on (instead of widgetXXXX will be ID name, so you will easier know what is going on)

I will be using widget names from image that is in spoiler above to better understanding.

1) Creating widgets when its needed ("in flight") [ from .otui or from previously declared widgets (data/styles) or default ones ]
You can create widgets "in flight" in LUA - when you need, for example you declared style for widget which will be used later (not show in MainWindow of module at module start), you just want to create it when it needs, so you can do it like that:
Lua:
-- Widget that is default (just - UIWidget):
local createIt = g_ui.createWidget('UIWidget', parent)
-- Custom Widget that you declared in module .otui (see image in Spoiler above to understand):
local createIt = g_ui.createWidget('Widget_That_Will_Be_Created_Later_In_Module_In_LUA', parent)
-- this "name" is from image in Spoiler above (REMEMBER: Name is not ID ! You have to distinguish it!)

2) Get widget from .otui that are already visible on module window
To get widgets that are already visible on module window, you need to set them their "id" in .otui, after that you can simply do the thing like:
Lua:
local getWidget = parent:recursiveGetChildById('bob')

--[[
You have few functions to get widgets in lua, recursiveGetChildById function is most handy function, because you just have to reference to FIRST parent
Other functions like getChildById needs to be referenced to EXACT parent, however recursive~ you can reference to FIRST parent, example:
You have mainWindow and few other containers/windows that are childs after him and their have their own childs, so you just pass the main window as a parent instead of exact window where certain child belongs to. (it's complicated, you need to see this usage in practice)
]]--


That's pretty much all basic knowledge that you need to know to start your adventure with .otui and make it use in LUA.
If you have any questions - feel free to ask.
Peace~

PS. With all those knowledge to give you bonus little help with getting parent (where you should draw) your HUD, it will be probably rootWidget or gameMapPanel :)
I feel like this should be it’s own tutorial post, really solid knowledge.
 
Thank you very much for your help, I already started to practice, but I have some problems
Capture.JPG
I added two images for testing but they are getting on top of each other
And I need to know how to center the text on each image
For example: The text of life, I need to center on the image of life. The vigor text, I need to center on the vigor image
Code:
UIWidget
  id: attributesId
  anchors.top: parent.top
  anchors.left: parent.left
  margin-left: 3
  size: 100 100
  visible: false
  layout:
    type: verticalBox
    
  Label
    id: healthImage
    image-width: 60
    image-height: 60
    opacity: 0.4
    image-source: /images/ui/health_test
    
  Label
    id: healthId
    font: verdana-11px-rounded

  Label
    id: staminaImage
    image-width: 60
    image-height: 60
    opacity: 0.4
    image-source: /images/ui/stamina_test

  Label
    id: staminaId
    font: verdana-11px-rounded
Post automatically merged:

Oops, I managed to make the adjustments... It's working, but I don't know if I did it the right way.
I don't know if changing the game's resolution will cause any problems.
But as far as I'm concerned, everything seems to be fine.

Capture.JPG
Code:
UIWidget
  id: attributesId
  anchors.top: parent.top
  anchors.left: parent.left
  margin-top: 30
  margin-left: 30
  size: 100 190
  visible: false
  layout:
    type: verticalBox
    
  Label
    id: healthImage
    image-width: 60
    image-height: 60
    opacity: 0.4
    image-source: /images/ui/health_test
    
  Label
    id: healthId
    margin-top: 33
    margin-left: 6
    font: verdana-11px-rounded

  Label
    id: staminaImage
    margin-top: 15
    image-width: 60
    image-height: 60
    opacity: 0.4
    image-source: /images/ui/stamina_test

  Label
    id: staminaId
    margin-top: 33
    margin-left: 6
    font: verdana-11px-rounded
 
Last edited:
Back
Top