Munchiee
Member
- Joined
- Sep 11, 2013
- Messages
- 9
- Reaction score
- 5
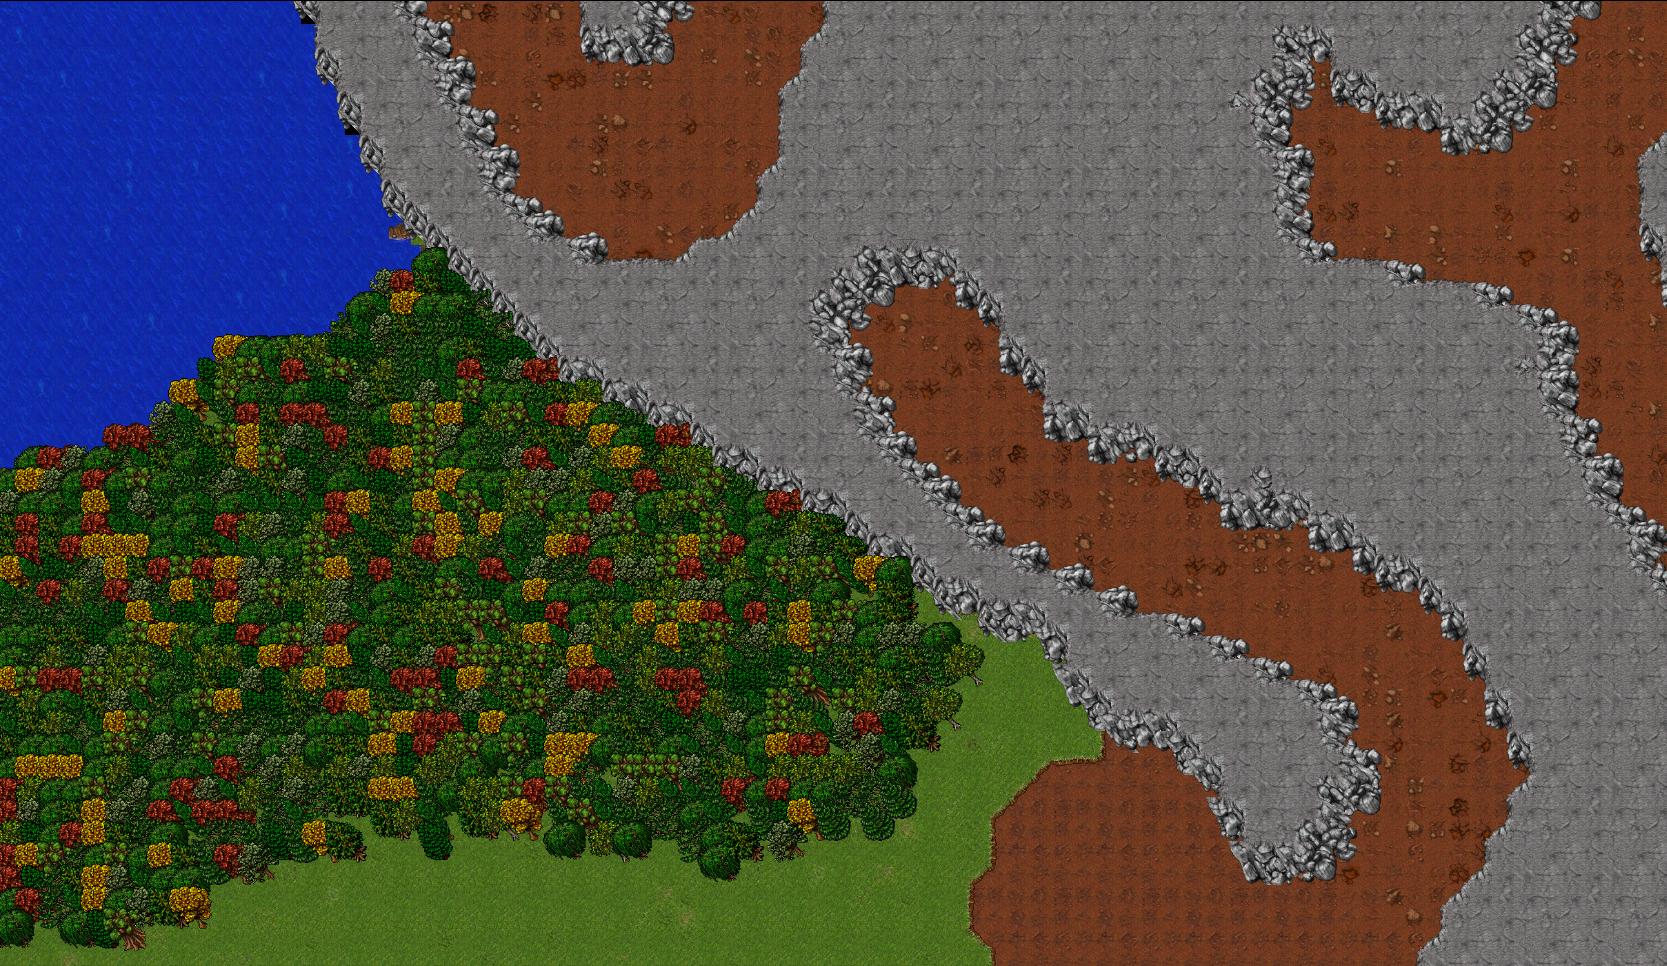
Hey everyone! When I first started mapping, one of the HARDEST things to do with correct bordering for me was mountains. I made a giant mountain range, that took me 3 hours or so... and I decided, 'There has to be a better way.'
And then I found it!
I created a doodad in Remere's Editor 2.2 that help aids the making of mountains... and you can make a giant mountain range in a matter of minutes! It's super easy!
So let's begin.
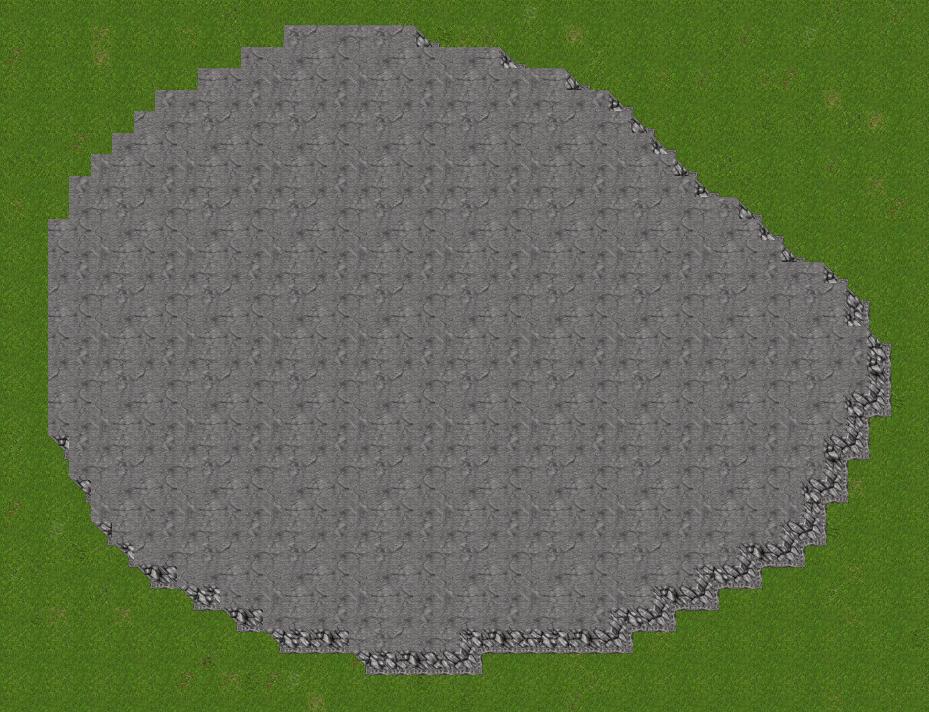
First of all. When you use the original mountain tool, two noticable things happen. The first is, the top of the mountain is unwalkable. Second, the mountain borders are just straight walls.
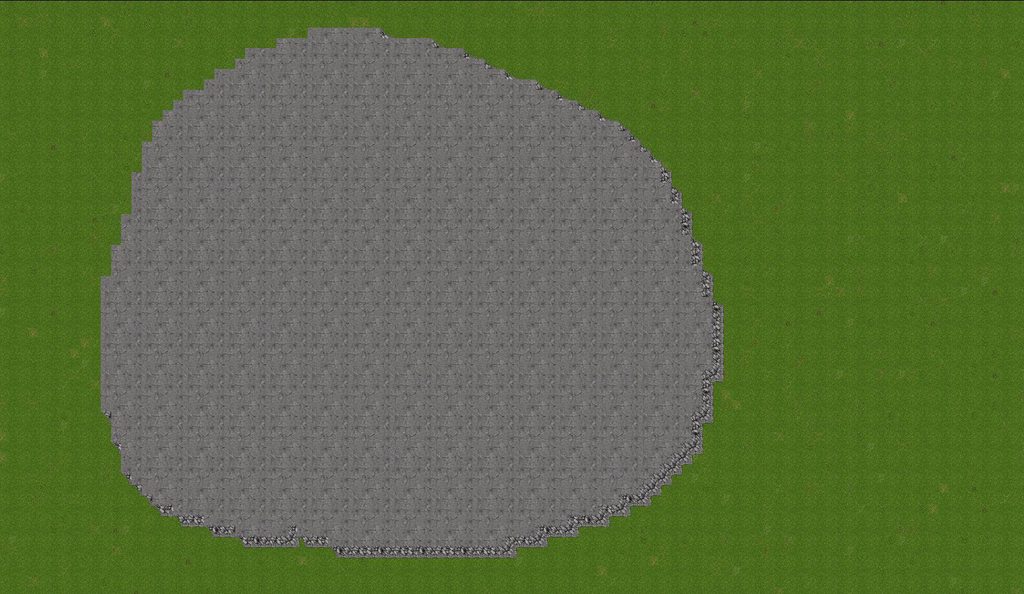
So for the first issue, what my doodad will do for you, is draw the mountain just like the original tool, but also it will draw mountain floor a layer above the mountain... giving you a walkable mountain top!
This way, if you make really complex mountains, you don't have fill in the walkable section by hand on top of the mountain, because it could get a little tedious.

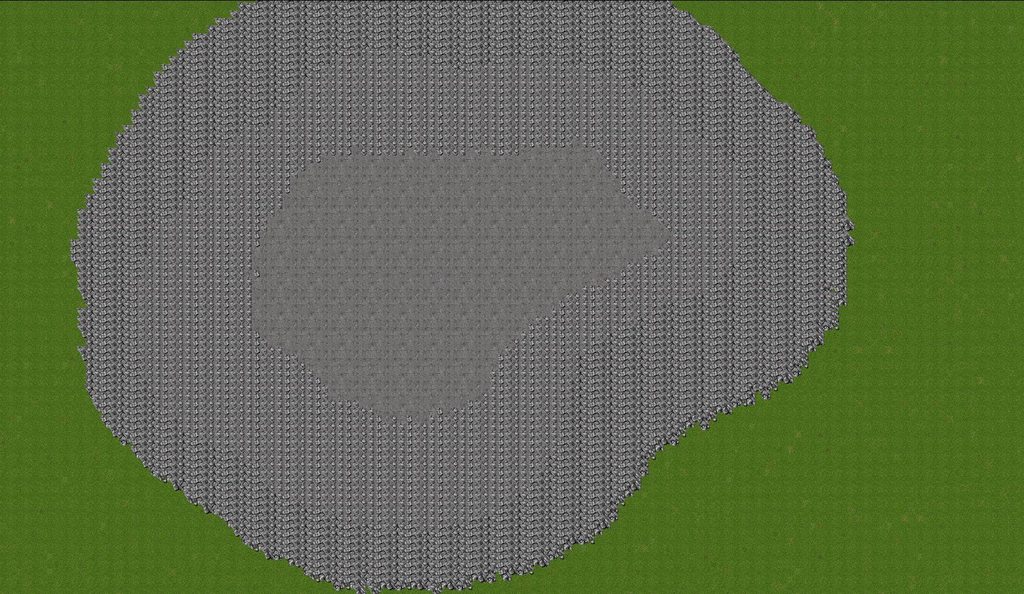
So now that we have the mountain with top in place... what about those borders?
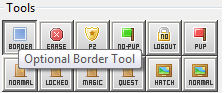
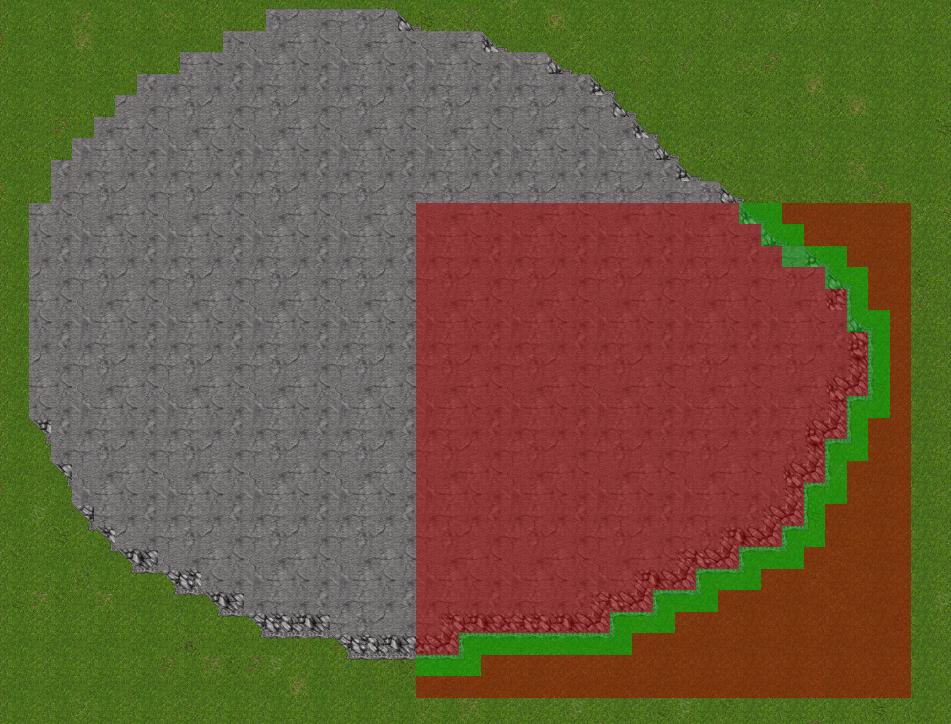
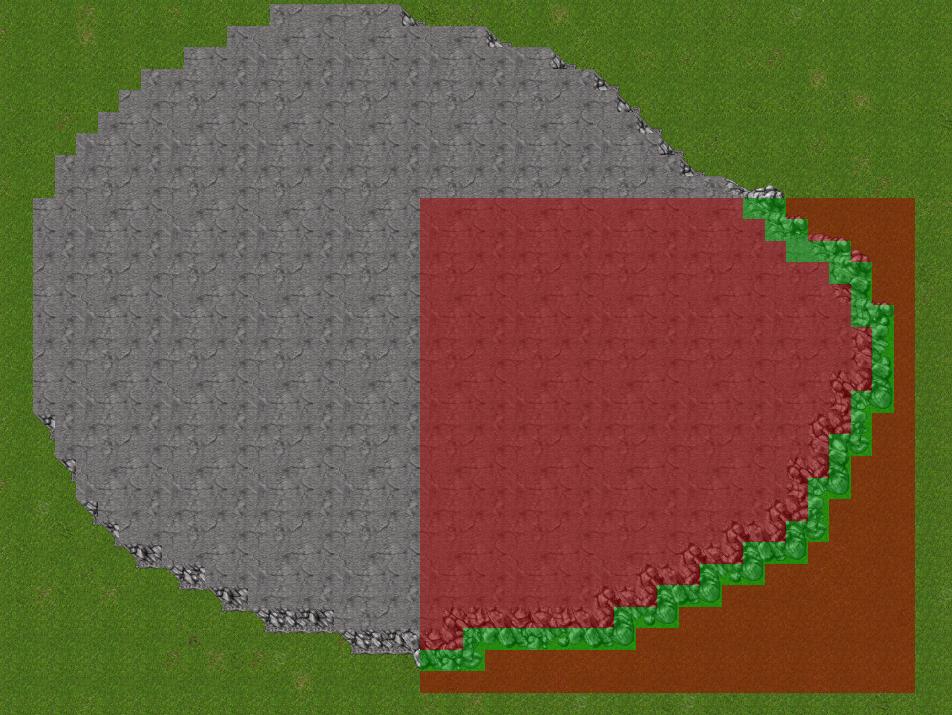
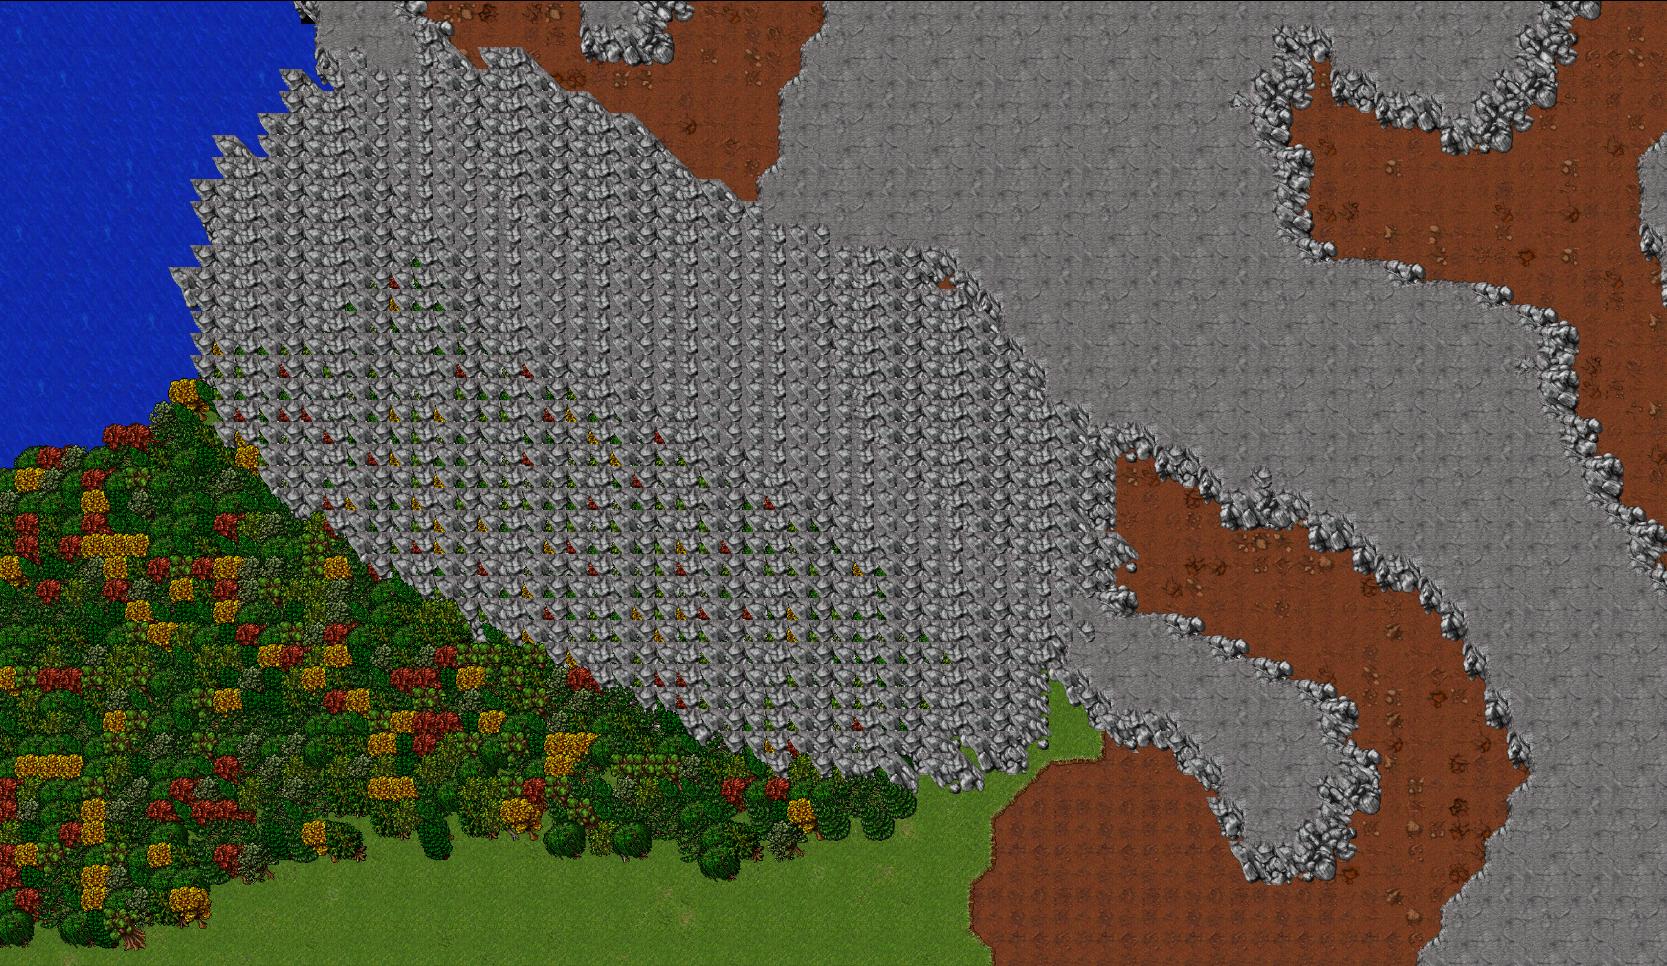
Well, what I learned was that if you put any border on the mountain, it automatically makes it the correct border. Only you have to click each side, one by one, by one, by one... and so on. So I made another brush for this as well! What it does is just paints a massive amount of borders... making sure you hit every 'mountain edge'. It looks really messy, but cleanup is as easy as a couple clicks! All you have to do is Borderize your map.
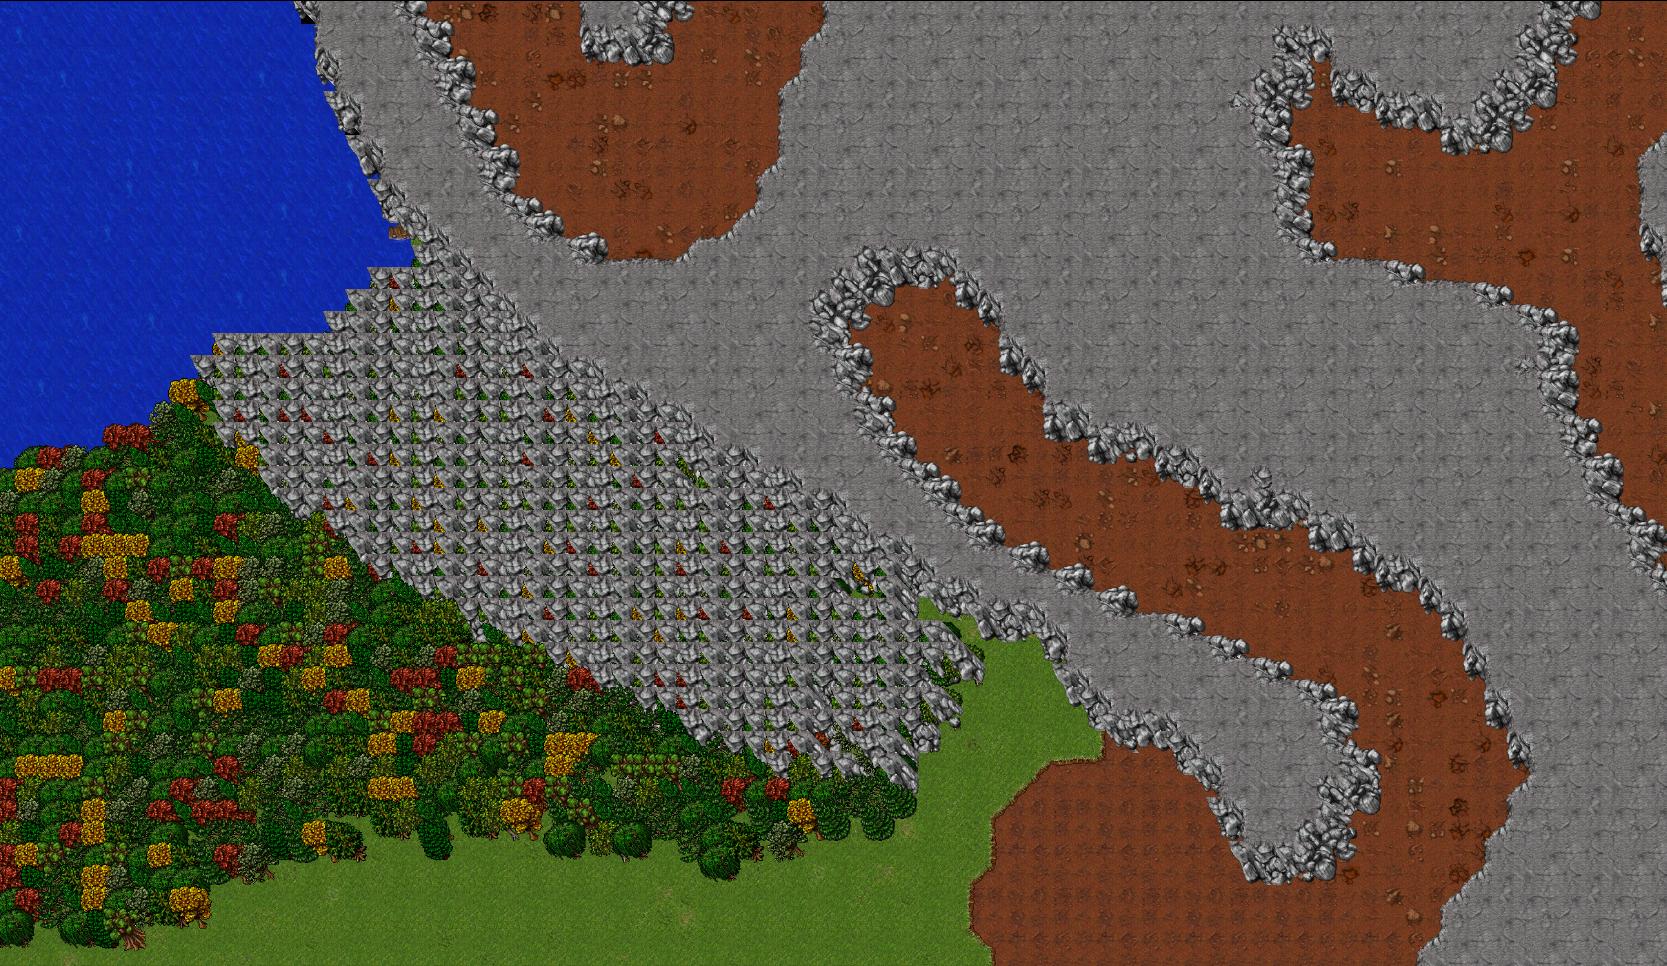
You can borderize your map by selecting the area you want borderized... and hitting CTRL+B. Of just go to the menu up top (Edit->Border Options->Borderize Map). It will remove any unnessisary borders... as well as make the ones that touch your mountains auto configure!
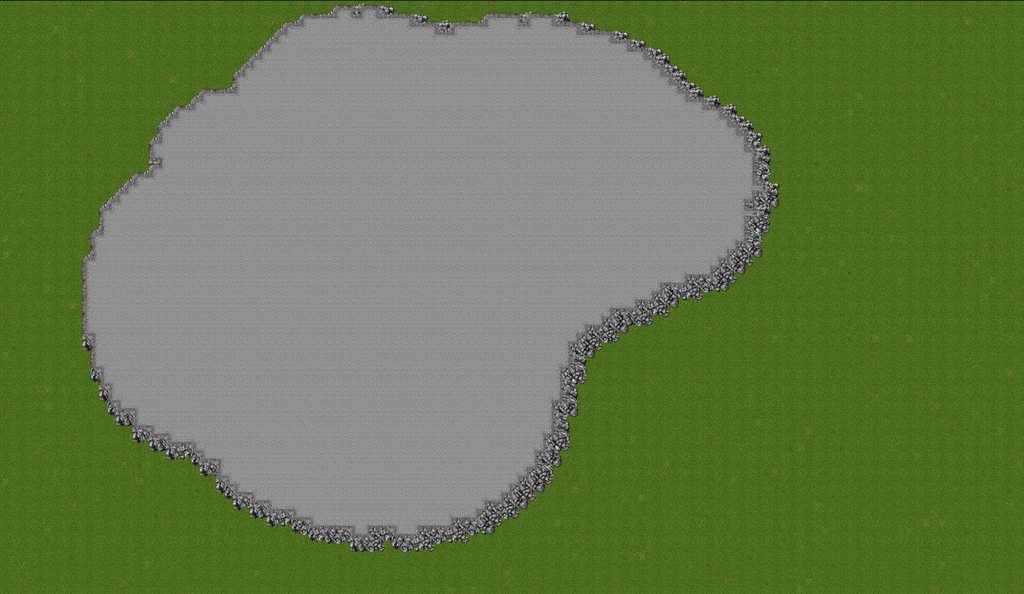
Make sure that you make your mountains first... and do the borders before adding anything else and such... Because it is possible that the borders won't disappear if other items are underneath them. For example if you have trees down, the borders wont delete if they're touching the trees... so save your details and such for last!
How to add the brushes to your editor? Simple.
Assuming you're using vista/Windows 7/Windows 8... just open up your start menu and type
This should open your appdata/roaming folder... and from there, you just have to go to Remere's Map Editor\extensions.
Just drop the .xml file in there, and when you start up your map editor, it will automatically load it ( :
To find the mountain brushes, just change to the doodad palette, an then find the 'Mountains' tileset! It's all right there!
As for snow mountains... it's the same technique, only use the snow mountain brush. When you put the walls on, just use the wall brush, and it will change it to icy mountains automatically ( :
Feel free to let me know any questions, comments or concerns you may have! Thanks ( :
And then I found it!
I created a doodad in Remere's Editor 2.2 that help aids the making of mountains... and you can make a giant mountain range in a matter of minutes! It's super easy!
So let's begin.
First of all. When you use the original mountain tool, two noticable things happen. The first is, the top of the mountain is unwalkable. Second, the mountain borders are just straight walls.
So for the first issue, what my doodad will do for you, is draw the mountain just like the original tool, but also it will draw mountain floor a layer above the mountain... giving you a walkable mountain top!
This way, if you make really complex mountains, you don't have fill in the walkable section by hand on top of the mountain, because it could get a little tedious.
So now that we have the mountain with top in place... what about those borders?
Well, what I learned was that if you put any border on the mountain, it automatically makes it the correct border. Only you have to click each side, one by one, by one, by one... and so on. So I made another brush for this as well! What it does is just paints a massive amount of borders... making sure you hit every 'mountain edge'. It looks really messy, but cleanup is as easy as a couple clicks! All you have to do is Borderize your map.
You can borderize your map by selecting the area you want borderized... and hitting CTRL+B. Of just go to the menu up top (Edit->Border Options->Borderize Map). It will remove any unnessisary borders... as well as make the ones that touch your mountains auto configure!
Make sure that you make your mountains first... and do the borders before adding anything else and such... Because it is possible that the borders won't disappear if other items are underneath them. For example if you have trees down, the borders wont delete if they're touching the trees... so save your details and such for last!
How to add the brushes to your editor? Simple.
Assuming you're using vista/Windows 7/Windows 8... just open up your start menu and type
Code:
%appdata%This should open your appdata/roaming folder... and from there, you just have to go to Remere's Map Editor\extensions.
Just drop the .xml file in there, and when you start up your map editor, it will automatically load it ( :
To find the mountain brushes, just change to the doodad palette, an then find the 'Mountains' tileset! It's all right there!
As for snow mountains... it's the same technique, only use the snow mountain brush. When you put the walls on, just use the wall brush, and it will change it to icy mountains automatically ( :
Feel free to let me know any questions, comments or concerns you may have! Thanks ( :
Attachments
-
Mountains.zip492 bytes · Views: 89 · VirusTotal
 thnx bro!