i was following this tutorial and when i insert
- nano /etc/nginx/sites-available/default
- it doesnt work any help?
Hello people and welcome to another one of my very helpful and education tutorials. This time I bring you something that will help many many people out there, whether you want to set up your new dedicated server, want to learn how to set up a web server for whatever reason or want to learn a bit about compiling TFS 1.0 on Linux this is the place.
Now Sit back and PAY ATTENTION as we go through some interesting stuff here.
We need a few things before we can start, its best if you get them now before we proceed:
Debian 7 minimal with ssh(any type will do really, just make sure to apt-get install openssh-server to have openssh installed. Also if you already installed a LAMP stack or w/e it may cause trouble.)
PuTTY
Filezilla
Notepad++
Lets start by logging into our server:
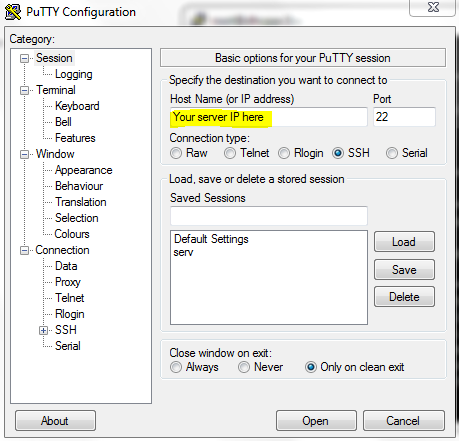
Enter your credentials:
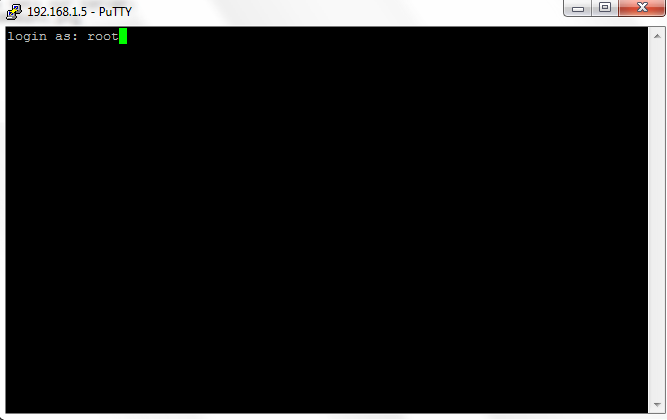
(If you are not logging on as a root user you must add sudo infront of all the commands we execute, or use su and continue normally.)
Now start by doing:
Now lets set up a LEMP stack with phpmyadmin:Code:apt-get update apt-get upgrade
First lets install MySQL:
Use:
Code:apt-get install mysql-server php5-mysql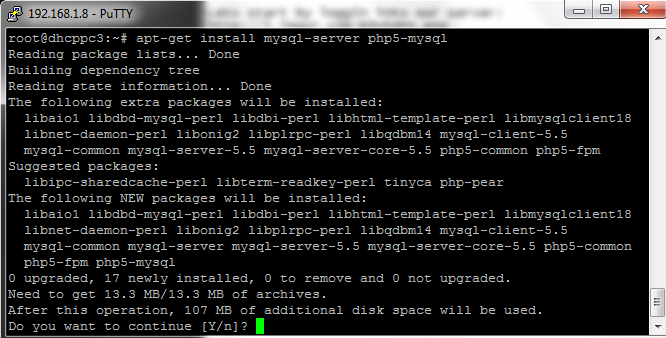
During the process you will get this:
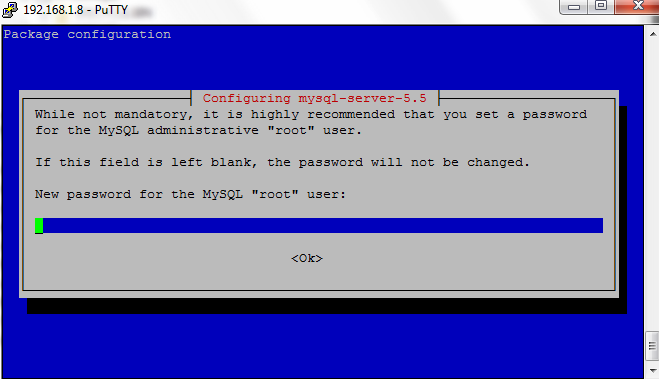
Enter a secure password, then confirm it in the next screen
After that wait a few seconds and it will be done
After that execute
Then we execute:Code:mysql_install_db
And enter your root passwordCode:/usr/bin/mysql_secure_installation
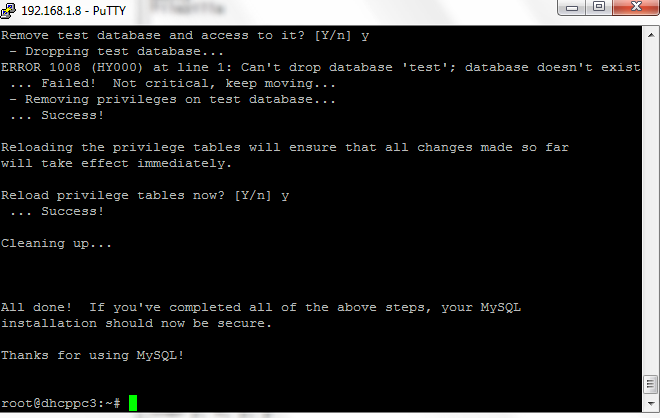
It will then ask you if you want to change the root password, change it to something secure:
then y, n, y, y
And now MySQL is set up
Now lets setup our web server(nginx):
Code:apt-get install nginx

Now start nginx
Now if you go to your IP adress and everything was successful you will see thisCode:service nginx start

If you dont know your IP address you can use ifconfig to get it.
Now we must edit the config, this can be a bit tricky so be careful
Do:
(or any other editor you like, this is nano)Code:nano /etc/nginx/sites-available/default
Then carefully do the following edits:
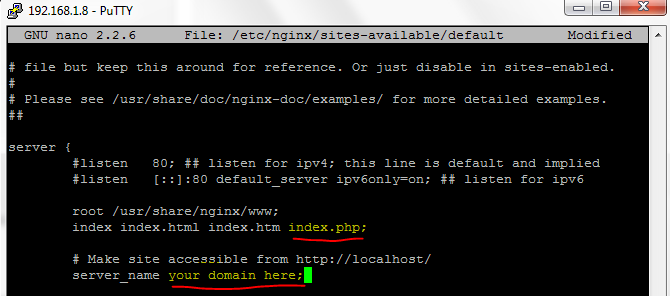
Uncomment the following lines in yellow(remove the #)
Uncomment these lines as well and add the one with the red arrow
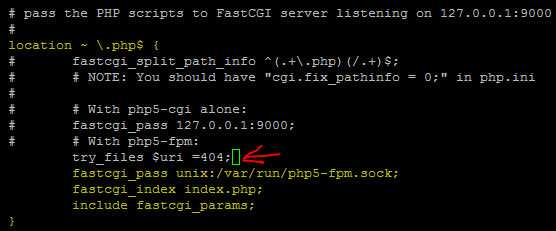
Now save and exit
Now lets install PHP and configure it:
Now configure itCode:apt-get install php5-fpmFind:Code:nano /etc/php5/fpm/php.iniand change it to =0Code:cgi.fix_pathinfo=1

If its commented with a ";" just remove the ;
Now we edit another file:
look for "listen = 127..." and change it to "listen = /var/run/php5-fpm.sock"Code:nano /etc/php5/fpm/pool.d/www.conf

Now save and exit.
And now restart php
Code:service php5-fpm restart
Now we can test php to see if its configured by doing this:
Code:nano /usr/share/nginx/www/info.php
Add the lines
Save and exit and restart nginx and test by doing:Code:<?php phpinfo(); ?>
Then go to to see all the php info:Code:service nginx restart
youripordomain.whatever/info.php
Now lets set up phpmyadmin
Get it by using
You will be prompted to install for either lighthttpd or apache, just press tab then enter to configure for none. After that the install will ask you something about a database, press yes, then for some passwords, remember to set strong passwords.Code:apt-get install phpmyadmin
Now we are going to link phpmyadmin to nginx
Then restart nginx by usingCode:ln -s /usr/share/phpmyadmin/ /usr/share/nginx/www
Now lets enter phpmyadmin by going to youripordomain.whatever/phpmyadminCode:service nginx restart
enter a user and password. If you are unsure use root and the pass you set during installation.
Continued on next post...