HesteN
Scarlet Horn founder.
Allright so I know alot of people haaaaate me for using autoborder, but I dont really care about that because what I do with autoborder usually ends out looking pretty good anyway (my and most of the community's opinion anyho.)
So I'll just show beginners how to make a neat looking mountain by using autoborder, this is the first tutorial I do so maybe I dont explain it perfectly but hopefully it will be somewhat helpful.
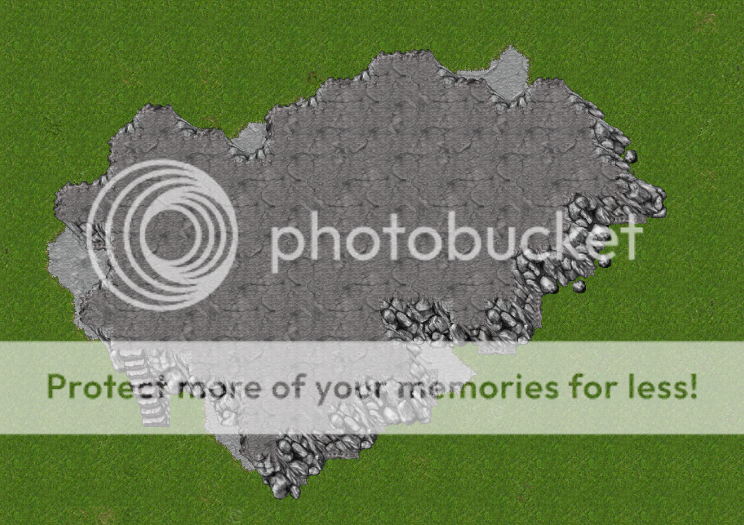
So first of - I just lay down a grass space to do this on, and I start doing the shape of the mountain, take enough time to do the shape dont rush it so it'll end up really clumsy.
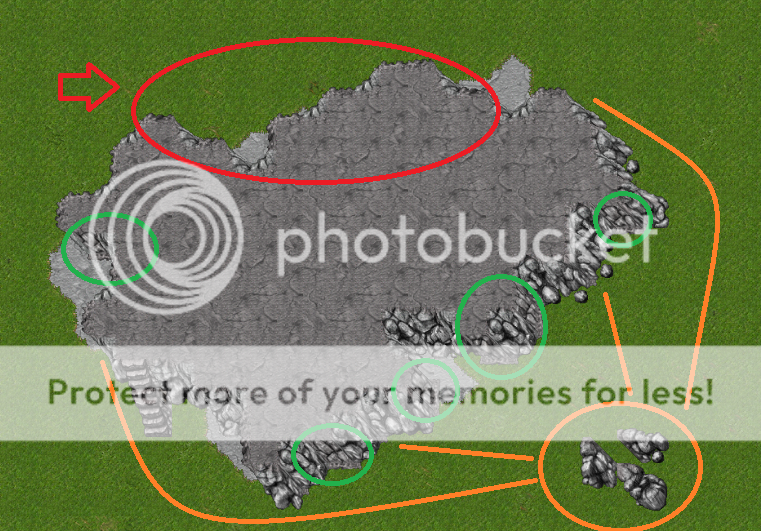
Avoid doing to much of this - it looks really bad if you put to many corners in a row, I try to use maximum 2 before I do a straight line again, also avoid doing to many straight line, as it gets really squary easily.
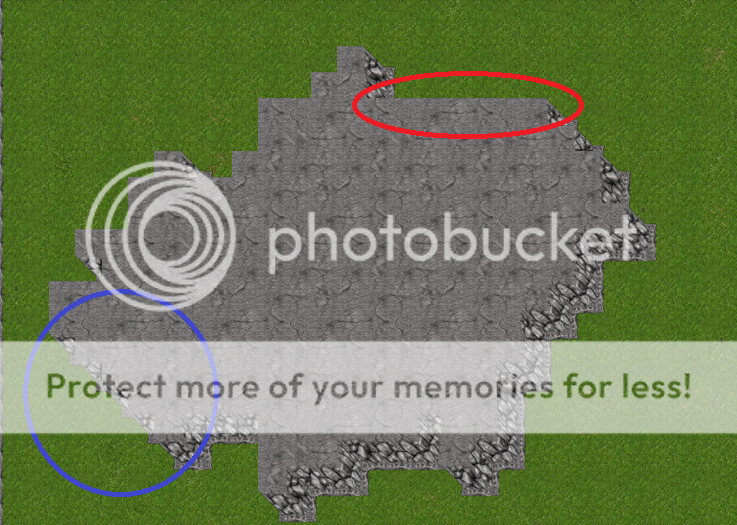
Do it more like this:
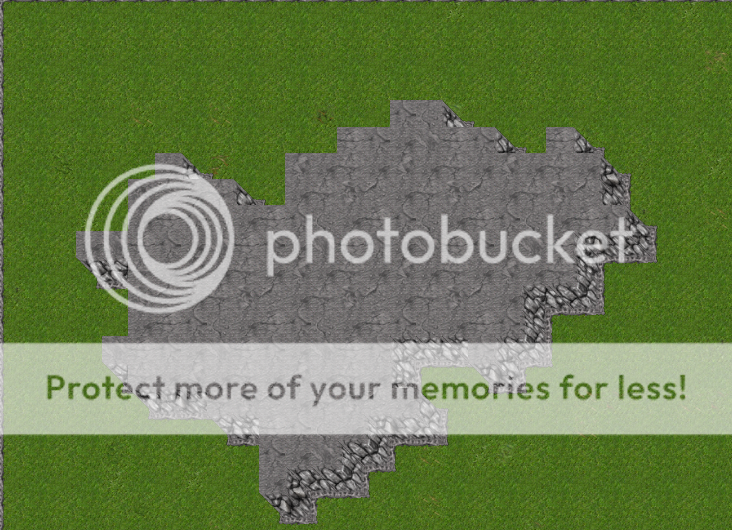
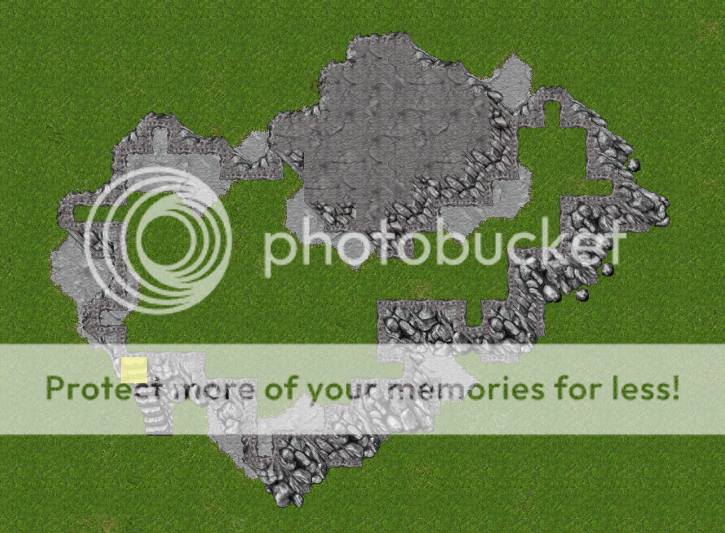
When you have gotten a good shape, then I personally do the "floor changes" before I border the mountain, as if you are doing this with autoborder after you put out the mountain borders they will disapear and u waste your time doing it again.
I usually do something like this:
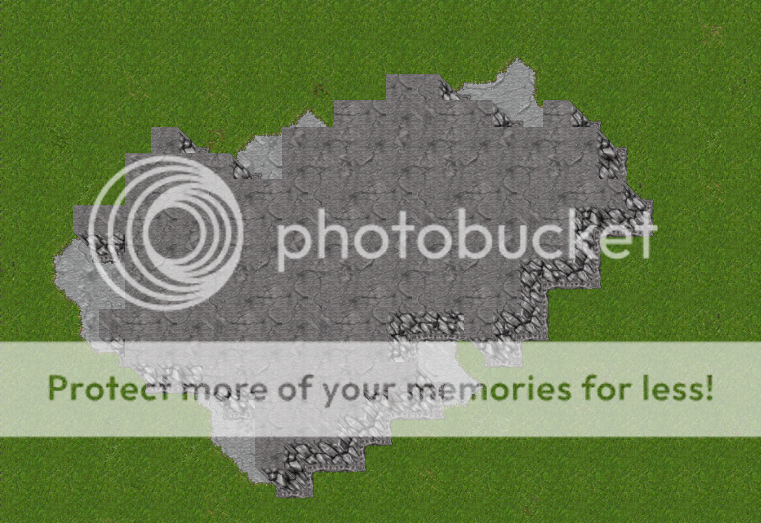
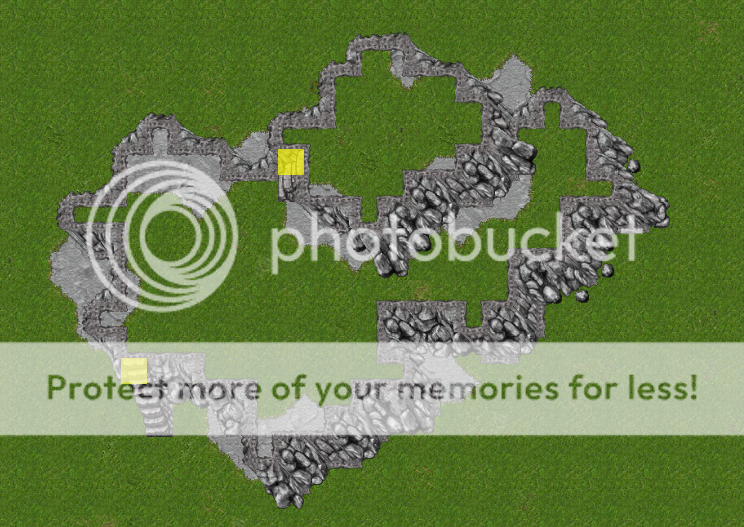
After this, I do the mountain borders:
Notice how I leave a few border slots open, it looks alot better then having borders everywhere, also notice that I leave out the big corner borders everywhere, some like having a few, I hate them personally and think they look horrible Also, NEVER leave out borders on this side.
Next step is going up to the second floor (in this case z:6) and do the same thing as u did before, place out the grass - do the mountain shape, and the "floor changes".
Do the borders, the ramp and then do the same with the third floor. (z:5)
When you are done with that you are done with the "Base" and its all done in autoborder. When it comes to decorating nature I DONT recommend you using doodad for placing trees and such, I got my custom doodad for small stones and such, but other then that do the decorating in RAW.
And when it comes to decorating the nature its all personal how you want to do it, Im not saying this is "the way to do it" its just the way I do, but ofcourse we all do diffrent natures from place to place. (Always start out decorating the first floor, first (z:7) so you can see how the floor beneath looks when you do the second and third.
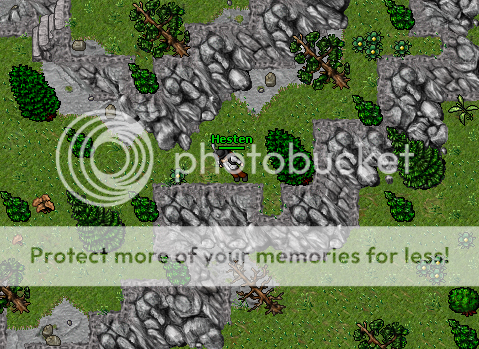
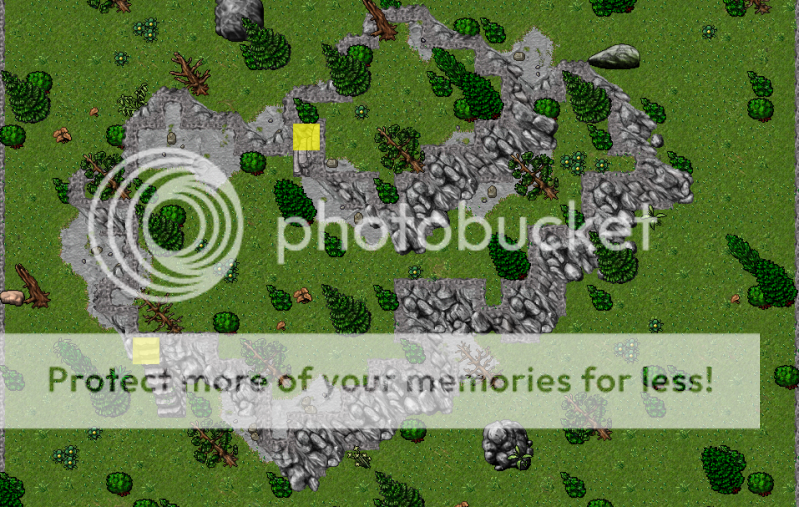
The complete outcome:
Hope it can be helpful, rep if it was :]
So I'll just show beginners how to make a neat looking mountain by using autoborder, this is the first tutorial I do so maybe I dont explain it perfectly but hopefully it will be somewhat helpful.
So first of - I just lay down a grass space to do this on, and I start doing the shape of the mountain, take enough time to do the shape dont rush it so it'll end up really clumsy.
Avoid doing to much of this - it looks really bad if you put to many corners in a row, I try to use maximum 2 before I do a straight line again, also avoid doing to many straight line, as it gets really squary easily.
Do it more like this:
When you have gotten a good shape, then I personally do the "floor changes" before I border the mountain, as if you are doing this with autoborder after you put out the mountain borders they will disapear and u waste your time doing it again.
I usually do something like this:
After this, I do the mountain borders:
Notice how I leave a few border slots open, it looks alot better then having borders everywhere, also notice that I leave out the big corner borders everywhere, some like having a few, I hate them personally and think they look horrible Also, NEVER leave out borders on this side.
Next step is going up to the second floor (in this case z:6) and do the same thing as u did before, place out the grass - do the mountain shape, and the "floor changes".
Do the borders, the ramp and then do the same with the third floor. (z:5)
When you are done with that you are done with the "Base" and its all done in autoborder. When it comes to decorating nature I DONT recommend you using doodad for placing trees and such, I got my custom doodad for small stones and such, but other then that do the decorating in RAW.
And when it comes to decorating the nature its all personal how you want to do it, Im not saying this is "the way to do it" its just the way I do, but ofcourse we all do diffrent natures from place to place. (Always start out decorating the first floor, first (z:7) so you can see how the floor beneath looks when you do the second and third.
The complete outcome:
Hope it can be helpful, rep if it was :]
")