oen432
Legendary OT User
Instead of providing your server client as a archive, take it to next level and make a proper installer. Not only it looks more professional but allows users for better client management (own folder, uninstaller, desktop and start menu shortcuts etc.).
- Download
innosetup-6.0.5.exefrom Inno Setup - Install and launch, you will see this window

- Select Create a new script file using the Script Wizard and press OK
- Press Next until you get to this screen
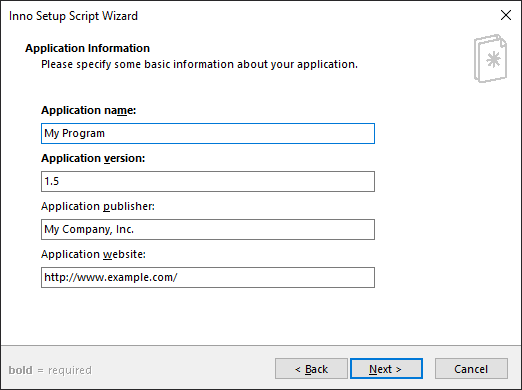
- Fill inputs and press Next
- Application name - this will mostly decide how shortcuts will be named
- Application version - start with 1.0, whenever you make new installer, increase by 0.1
- Application publisher - your server name
- Application website - your server website
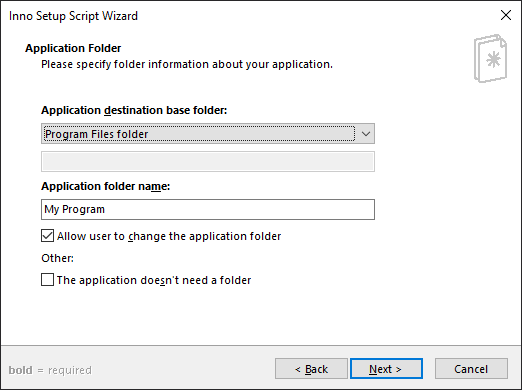
- This should be your next screen, I recommend to only change Application folder name (preferably to the same as Application name in previous step), press Next
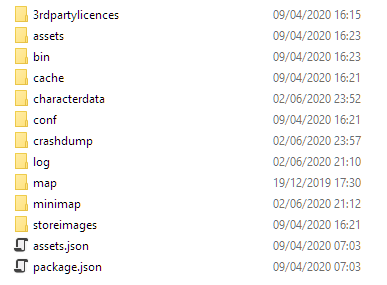
- This screen is the most important, that's where you select your client files
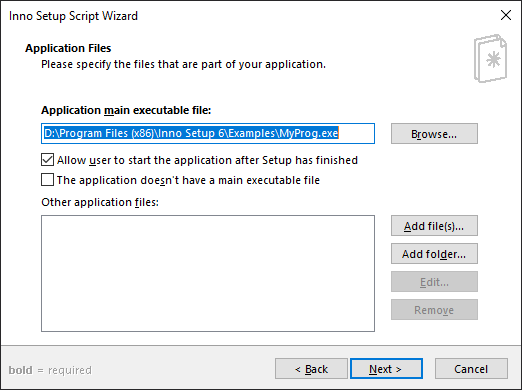
- Click on Browse... button and select your client executable file (e.g. otclient.exe)
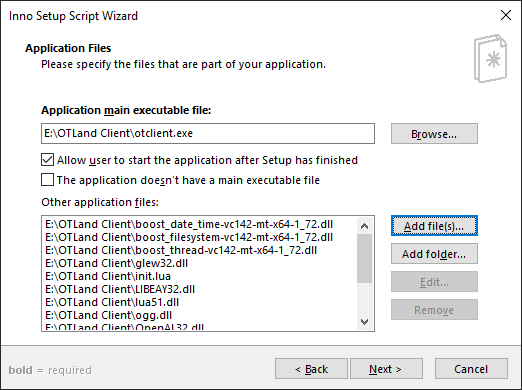
- Click on Add file(s)... and select all files (without folders and WITHOUT .exe) that are next to your .exe file, this is how it should look so far
- Click on Add folder... and select each folder that is next to your .exe file, when asked to include subfolders, press Yes, this is how it looks now
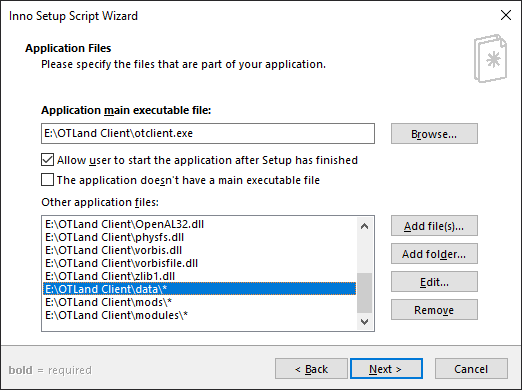
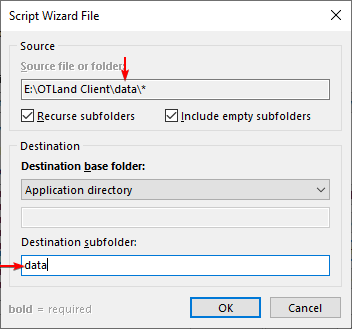
- Now one of the most important steps, do this for each folder that you added to the list; select folder, press Edit... and in Destination subfolder type the same name as the folder you just selected, example
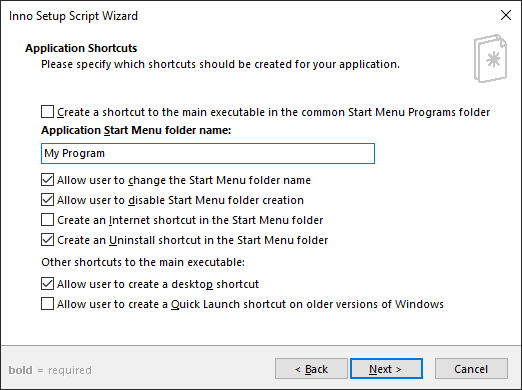
- When you are done with files, press Next and I recommend you to check the same way as here, remember to change Application Start Menu folder name to the same as Application name, press Next
- You can skip Application Documentation screen so just press Next
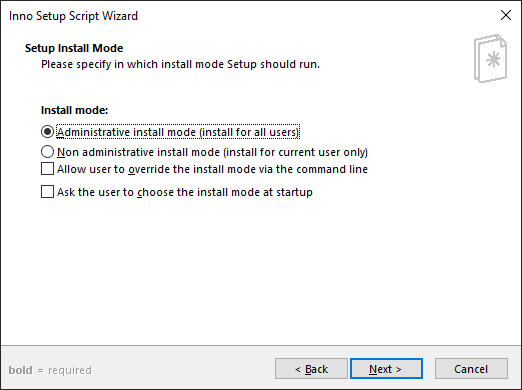
- It's recommended to leave Setup Install Mode as it is, press Next
- If you want you can select multiple languages for the installer, I'm selecting English only, press Next
- Last screen
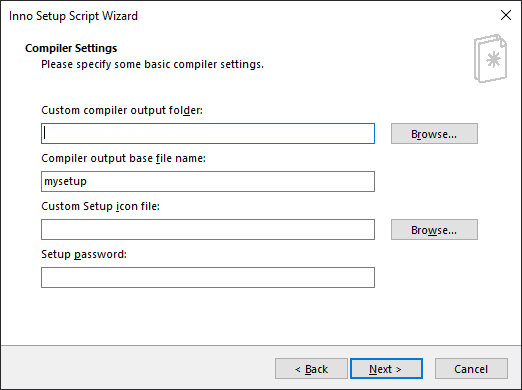
- Custom compiler output folder - where installer file will be saved
- Compiler output base file name - name of the install file
- Custom Setup icon file - you can select icon that will be used by the installer, leave empty for default icon
- Setup password - if you want to protect installer with password (not recommended)
- Press Next twice and then Finish
- If you want, you can compile (create installer file) right away, so press Yes, then again Yes (save your installer script file for future use), if you want to compile later, press Compile button or Ctrl+F9.