Installing LEMP on a Debian 8.3 Cloud Server Or VPS wok ubuntu system
First we want to make sure that your server is up to date by running the command:
To install Nginx use the command:
Start the Nginx service with the following command:
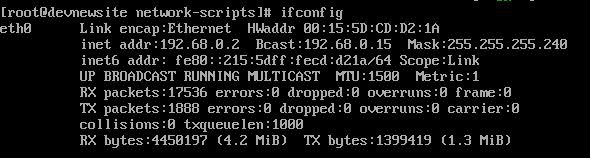
An example of ifconfig that shows the IP address of 192.168.0.2
In our example, 192.68.0.2 is the IP address. So in our browser we would go to http://192.68.0.2
You should see a web page that looks like the image below.
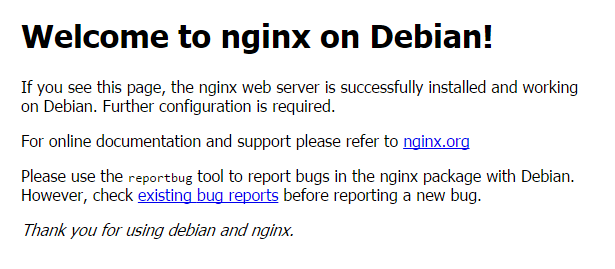
This example is the default Nginx web page on Debian 8.3
Now that Nginx is installed, we can move on to installing MySQL.
Installing MySQL on Debian 8.3
Install MySQL with the command:
Shortly after, a screen similar to the image below will appear. You need enter a password for your MySQL root user. It should be a strong password.
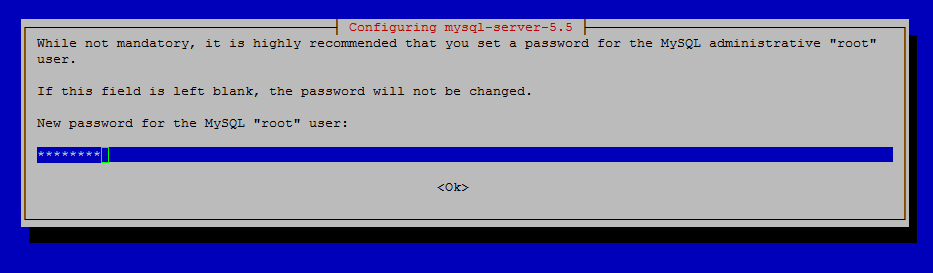
Insert your secure password for your new MySQL root password
Hit enter to continue. Once you have hit enter, a new screen will appear prompting you to re-enter the password you just picked.
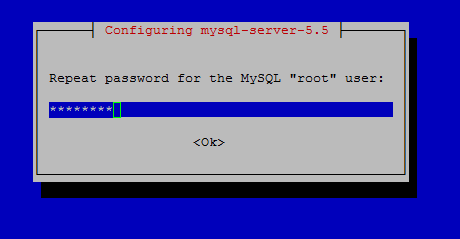
Re-enter your new root MySQL password.
Now that MySQL is installed we need to do the MySQL secure installation by running the command:

An example of the mysql_secure_install
Now that MySQL is installed we can now install PHP.
Installing PHP on Debian 8.3
Install PHP with the following command:
For Nginx to work with PHP correctly, we need to edit a Nginx configuration file. In this how to, we are going to place a simple Nginx config file.
First we need to moved the original to a new file name, run the command:
In nano to exit and save, hit ctrl+x and type y and then enter.
We are now going to make a simple PHP page to test.
Using a text editor of your choice, we are going make a file called info.php in /var/www/html
You should see a web page similar to the one below.
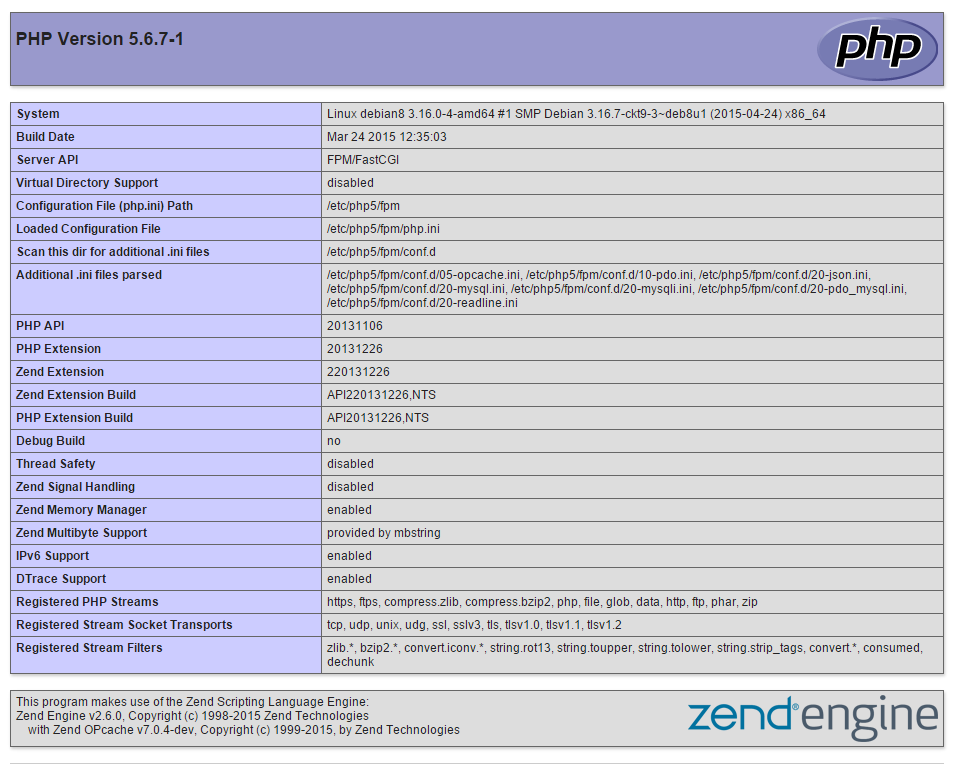
An example of what your php.info file should look like
Congratulations you have installed LEMP on Debian 8.3. Thank you for following this How-To! Check back for more updates, and take a look at our how-to Installing WordPress on Debian 8. Atlantic.Net offers expert technical support and services like Managed Cloud Hosting and popular one-click install applications like cPanel Cloud Hosting.
To config, you can add more / phpmyadmin on the ip address which will be given in the
allow 01.123.45.5
replace with your ip
security is very easy for users especially for the Poles, not once I got info that someone broke into the bay: P
Regards!
First we want to make sure that your server is up to date by running the command:
- apt-get update
- apt-get upgrade
- apt-get remove apache2*
- apt-get autoremove
To install Nginx use the command:
- apt-get install nginx
Start the Nginx service with the following command:
- service nginx start
- ifconfig

An example of ifconfig that shows the IP address of 192.168.0.2
In our example, 192.68.0.2 is the IP address. So in our browser we would go to http://192.68.0.2
You should see a web page that looks like the image below.

This example is the default Nginx web page on Debian 8.3
Now that Nginx is installed, we can move on to installing MySQL.
Installing MySQL on Debian 8.3
Install MySQL with the command:
- apt-get install mysql-server
Shortly after, a screen similar to the image below will appear. You need enter a password for your MySQL root user. It should be a strong password.

Insert your secure password for your new MySQL root password
Hit enter to continue. Once you have hit enter, a new screen will appear prompting you to re-enter the password you just picked.

Re-enter your new root MySQL password.
Now that MySQL is installed we need to do the MySQL secure installation by running the command:
- mysql_secure_installation

An example of the mysql_secure_install
Now that MySQL is installed we can now install PHP.
Installing PHP on Debian 8.3
Install PHP with the following command:
- apt-get install php5 php5-fpm php5-mysql
For Nginx to work with PHP correctly, we need to edit a Nginx configuration file. In this how to, we are going to place a simple Nginx config file.
First we need to moved the original to a new file name, run the command:
- mv /etc/nginx/sites-available/default /etc/nginx/sites-available/default.old
- nano /etc/nginx/sites-available/default
Code:
server {
        listen       80;
        server_name  your_site_name.com;
        root /var/www/html;
        index index.php index.html index.htm index.nginx-debian.html;
        location / {
                try_files $uri $uri/ =404;
        }
        error_page 404 /404.html;
        error_page 500 502 503 504 /50x.html;
        location = /50x.html {
                root /var/www/html;
        }
        location ~ \.php$ {
                try_files $uri =404;
                fastcgi_pass unix:/var/run/php5-fpm.sock;
                fastcgi_index index.php;
                fastcgi_param SCRIPT_FILENAME $document_root$fastcgi_script_name;
                include fastcgi_params;
        }
}
In nano to exit and save, hit ctrl+x and type y and then enter.
We are now going to make a simple PHP page to test.
Using a text editor of your choice, we are going make a file called info.php in /var/www/html
- nano /var/www/html/info.php
- <?php
- phpinfo();
- ?>
- service nginx restart
You should see a web page similar to the one below.

An example of what your php.info file should look like
Congratulations you have installed LEMP on Debian 8.3. Thank you for following this How-To! Check back for more updates, and take a look at our how-to Installing WordPress on Debian 8. Atlantic.Net offers expert technical support and services like Managed Cloud Hosting and popular one-click install applications like cPanel Cloud Hosting.
To config, you can add more / phpmyadmin on the ip address which will be given in the
Code:
location /phpmyadmin {
        allow 01.123.45.56;
        allow 127.0.0.1;
        deny  all;
        }
allow 01.123.45.5
replace with your ip
security is very easy for users especially for the Poles, not once I got info that someone broke into the bay: P
Regards!