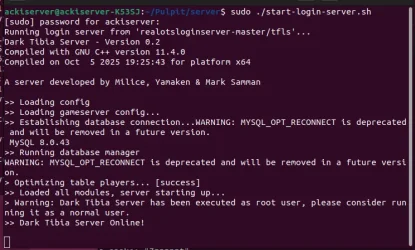
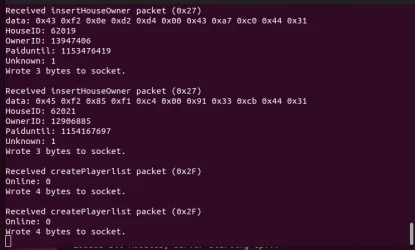
I've been working on dockerization of all this and I think I've managed to make it work ")
This is not as polished as scripts that @SilverFern created but I was able to run this server in minutes on both Linux and Windows machines.
Everything described in the repository's README:

 github.com
After I've done this I've realized that there is already similar project on GH - I've created mine from scratch I was not aware that something like this exists plus it stated that it won't work on Windows while my solution works just fine!
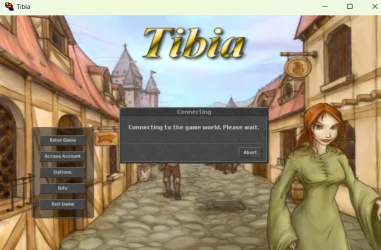
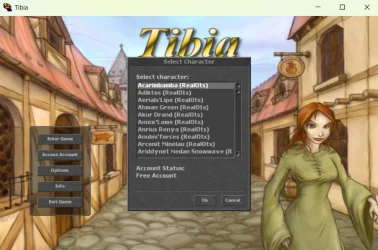
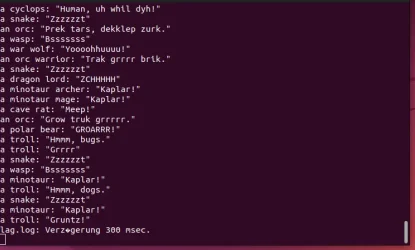
What's different to VM solution is that I don't have lags anymore and the server is running more smoothly.
There are also scripts to cleanup the DB a little so some noob chars could be deleted and its easier to find accounts to log in because of acc number <-> lvl mapping
I hope someone will find it useful.
I'm also learning Rust and I've started rewritting both login and query-managers (login is already done) to it so you can expect an update soon.
Happy Holidays!
This is not as polished as scripts that @SilverFern created but I was able to run this server in minutes on both Linux and Windows machines.
Everything described in the repository's README:
GitHub - michaldarda/realots-docker: Dockerized RealOTS files
Dockerized RealOTS files. Contribute to michaldarda/realots-docker development by creating an account on GitHub.
github.com
After I've done this I've realized that there is already similar project on GH - I've created mine from scratch I was not aware that something like this exists plus it stated that it won't work on Windows while my solution works just fine!
What's different to VM solution is that I don't have lags anymore and the server is running more smoothly.
There are also scripts to cleanup the DB a little so some noob chars could be deleted and its easier to find accounts to log in because of acc number <-> lvl mapping
I hope someone will find it useful.
I'm also learning Rust and I've started rewritting both login and query-managers (login is already done) to it so you can expect an update soon.
Happy Holidays!