Shadowsong
Game Developer & Graphic Designer
- Joined
- Feb 23, 2010
- Messages
- 3,446
- Solutions
- 21
- Reaction score
- 3,014
- Location
- Bosnia & Herzegovina
- YouTube
- ShivaShadowsong
Adding New Looktypes Tutorial
(100% newb friendly guide)
Updated for modern OT standards (2015-2016).
(100% newb friendly guide)
Updated for modern OT standards (2015-2016).
What you are about to learn, is how to edit your .dat and .spr to add new looktypes (outfits) to your server. Make yourself comfortable, and let's go.
What are the .dat and .spr files?
These 2 files come together with your Tibia client. The Tibia.spr file contains all the sprites that the client can display, the Tibia.dat file contains data that configures these sprites into objects with attributes.
To put it more directly, the .spr file contains only the images of gold coins, but the .dat file tells the client that these coins are a pickupable object, can be stacked, are not blocking movement when placed on the floor, etc. (lots of attributes).
We are looking to edit the .spr file, to insert new outfit sprites into it, and edit the .dat file to tell the client the attributes of our new outfit.
Needless to say, once you modify your .dat/.spr, if you run a server that will display these new objects in the client, the client must be using this modified version of .dat/.spr that contains your new stuff. This means that, once you do this, you will need to make your .dat/.spr files available to your audience to download, in order for them to play your server without issues and see these new objects/sprites.
If they are not using your .dat/.spr and they run into such objects, their client will either crash or glitch out heavily.
Required Tools
To modify our .dat/.spr file, we'll use a tool called ObjectEditor, which supports most old and new clients. There are builds and modifications that can be found within this thread (link below) to make it work for even the latest Tibia versions.
Go to this thread to download ObjectBuilder.
If your version is not supported in the default ObjectBuilder, try to search the thread for download links for newer versions.
You will also need a new outfit to implement. For the sake of testing, I will provide you with a sample sprite-sheet that you can use to practice.
Behold, the blue orc!
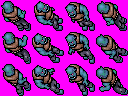
Save this image somewhere on your computer.
Loading your .SPR and .DAT with ObjectBuilder
Open ObjectBuilder once you've installed it, go to File -> Open -> Browse and select the folder where your client is located. The program will look for your .spr/.dat file there, and if you haven't screwed up something immensely, it should be there already.
Before you do any experimentation, make a backup copy of your .spr/.dat files and put them in some safe place on your pc.
Nagivating and understanding ObjectBuilder Interface (for outfits)
Once your sprites are loaded, go to the Outfit browser.

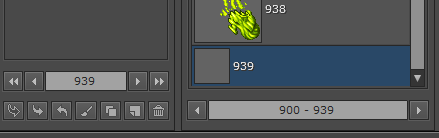
Click "New" in the bottom menu (below the Outfit Preview).

Now, you will be presented with a new empty slot for an outfit. Mine is 939.
This number represents the "looktype" ID of the outfit. This is an important number, as it is needed later - but we'll get to that.
Double click on this empty outfit object that was just created.
Doing this, will open the object editing interface in the middle, which looks like this.
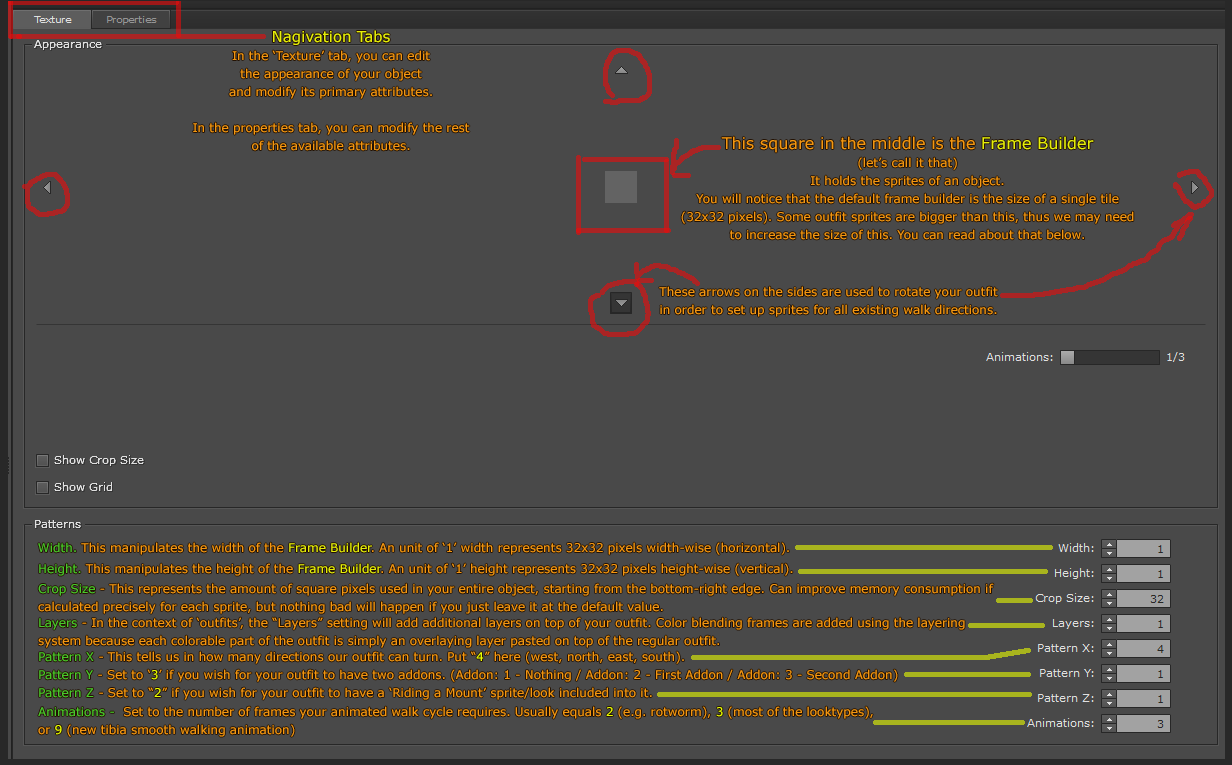
Now, we need to fill the Frame Builder with the sprites of our outfit.
But before we start doing that, we need to implement the sprites, load them into our .spr.
Loading Sprites into ObjectBuilder
Like I've mentioned before, all sprites are the size of a single tile (32x32 pixels). If we have an outfit or, for example, a wardrobe, that is bigger than that, we will need to cut it into 32x32 pieces before we can implement it.
We can do this via other software (e.g. Photoshop), or we can actually do it with ObjectBuilder itself. It has an in-built tool called Slicer that does this job for us.
Let's open it and load the spritesheet of the Blue Orc I provided into it.

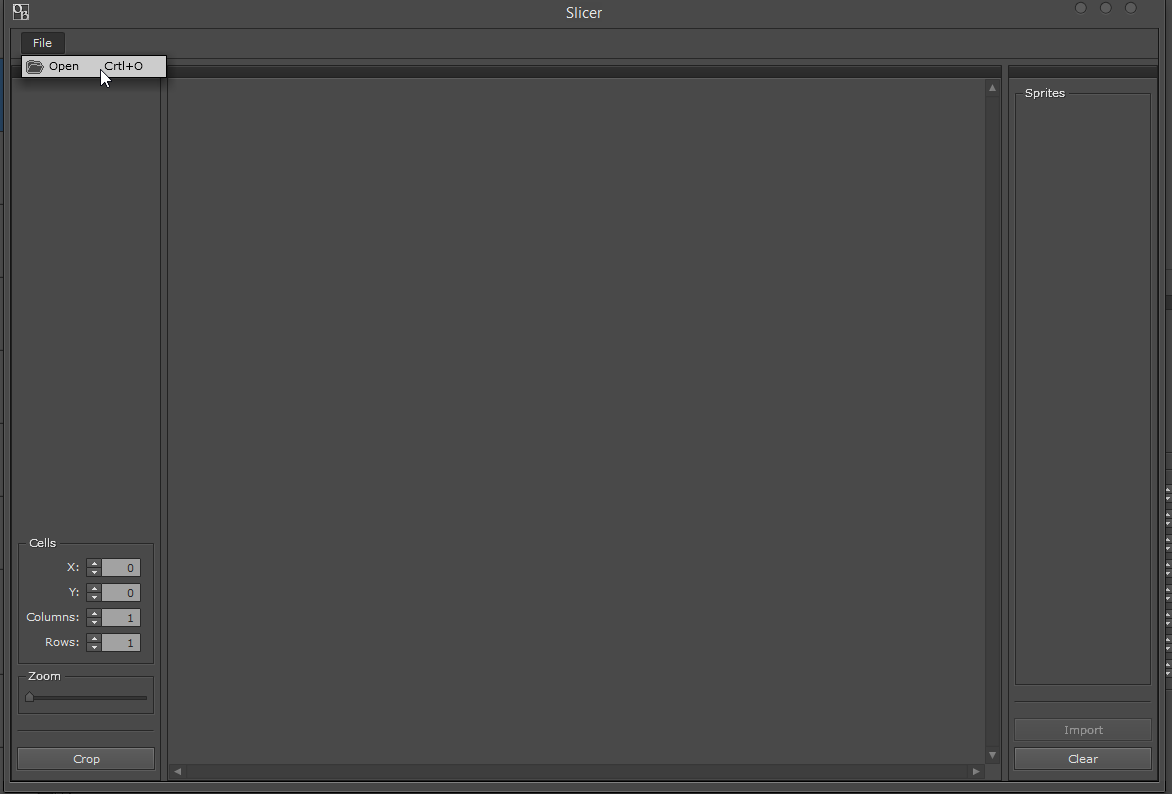
Find the spritesheet where you saved it and open it with Slicer.
This is how it will look when you open it. In the image below, I'll describe the functions/steps of working with the slicer:
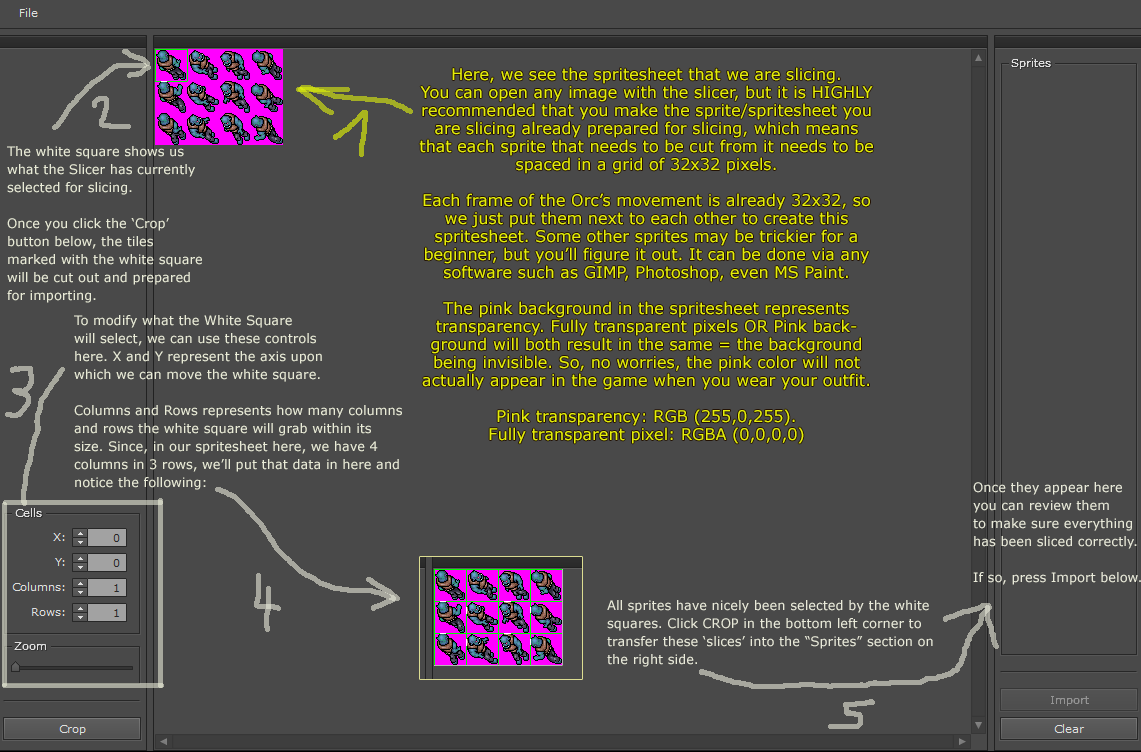
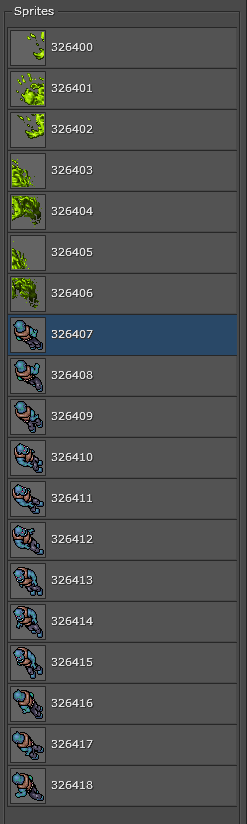
Once you have Imported the sprites, they will appear in the main window on the right side in the 'Sprites' section.
Now, we're ready to start assembling the outfit.
Assembling the Outfit into the Frame Builder.
Go to the empty outfit object we created and open it. Set the attributes to what you want them to be. (For this Orc, we'll be using Width: 1, Height: 1, Crop Size: 32, Layers: 1, PatternX: 4, PatternY: 1, PatternZ: 1, Animations: 3)
Now select the arrow of the direction you want to start implementing, and use the 'Animations' slider to determine which frame of the animation you are editing.
Animation 1 is always the frame where your character is standing still in place. 2,3,4,5, etc. are the frames for sprites of the character in movement.
Take a look at the following GIF to see a quick example of how to do the implementation:
Once you've assembled the entire outfit, press save below the outfit attributes. And that's it.
Saving your changes and compiling the new .dat/.spr
Click here:
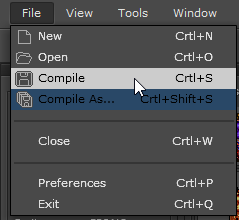
If you press the Compile button, the changes you made will be saved into the .spr/.dat files that you opened with ObjectBuilder. If you press Compile As, then you can save your changes into a new set of files in another folder instead.
In order to see your new sprites, like I said before, your client needs to be using your new modified Tibia.spr/Tibia.dat files (they need to be in the same folder as the Tibia.exe client executable basically).
Using your new outfit
Remember the looktype ID number that we mentioned at the start of the tutorial?
This number.
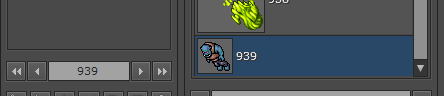
That's the number of your outfit.
So, now, if you go to your monsters and create a new monster XML file, you can make this monster use this new outfit simply by using this looktype ID.
<monster name="Orc" nameDescription="a orc" race="blood" experience="25" speed="150" manacost="300">
<health now="70" max="70"/>
<look type="939" corpse="5966"/>
Put your id here (red colored text) and your monster will be using this new outfit.
<health now="70" max="70"/>
<look type="939" corpse="5966"/>
Put your id here (red colored text) and your monster will be using this new outfit.
And that's it, now you know how to add new looktypes to your game!
Adding outfits with addons and other features is a bit more complicated. I will not be making a guide on that for now. If you wish to learn, the best way is to browse your .dat/.spr file in the editor, and look at how other outfits with such features are done, then try to replicate those attributes and methods of implementation.
Cheers.
Last edited:
")


